Showing posts with label Art. Show all posts

Wednesday, April 16, 2014

Collaborating on Art Projects with Little Kids


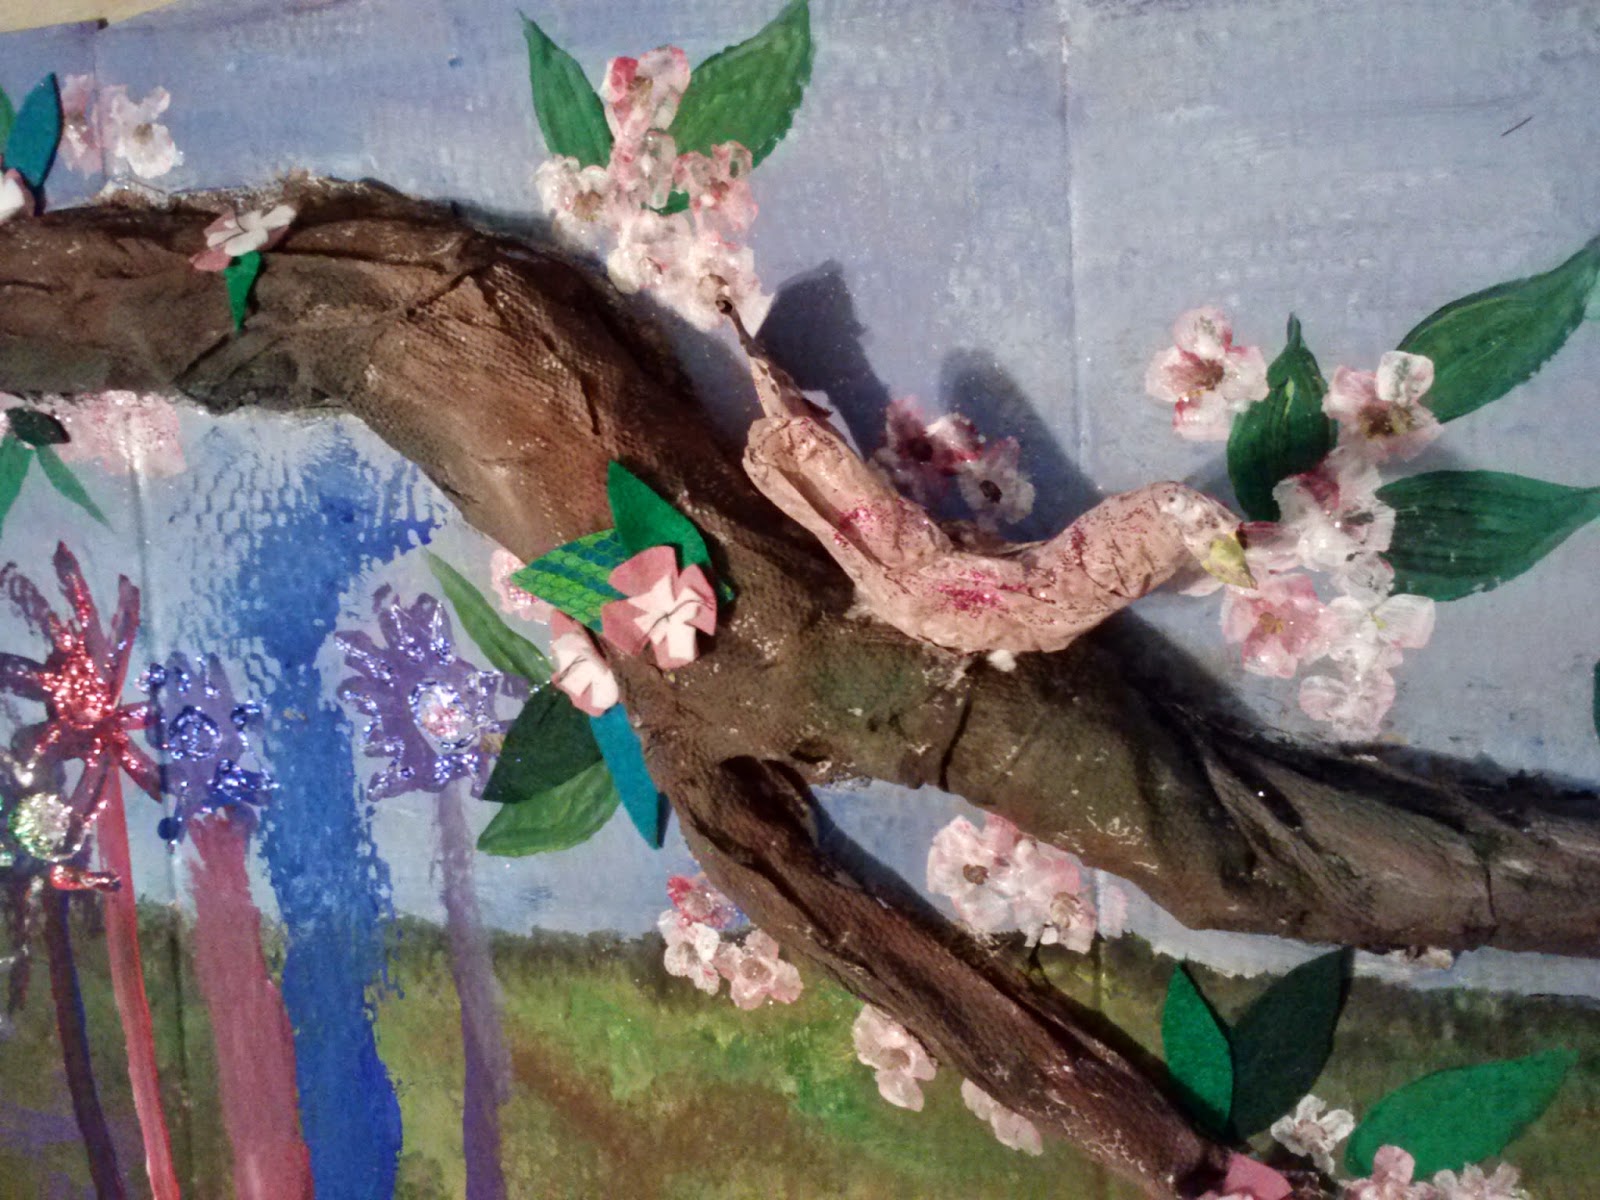
Detail of Our Ode to Spring

Collaborating on a project isn't easy. Collaborating on an art project with a 4yr old... You might think that it is impossible, but it is not. Here are 8 pointers to help you along.

1) Plan Ahead With Your Team - (Yes, I just referred to you and your child(ren) as a team. If you are going to make something together that is what you need to be.) Come up with a basic idea of what you are making, the materials you will need, the steps involved, where you will work, when you will do it, etc. This will help to get everyone invested in the project and give you a chance to organize in advance.

2) Identify Steps and Tasks - There are some things that you youngest team mates can't do but there are a whole lot of things they can. Identifying those things in advance makes redirection easy without letting it turn into a power struggle. For example: I need to be the one to use the X-Acto knife to cut here because it is very sharp, but we also need some triangles. Can you cut them with your scissors?
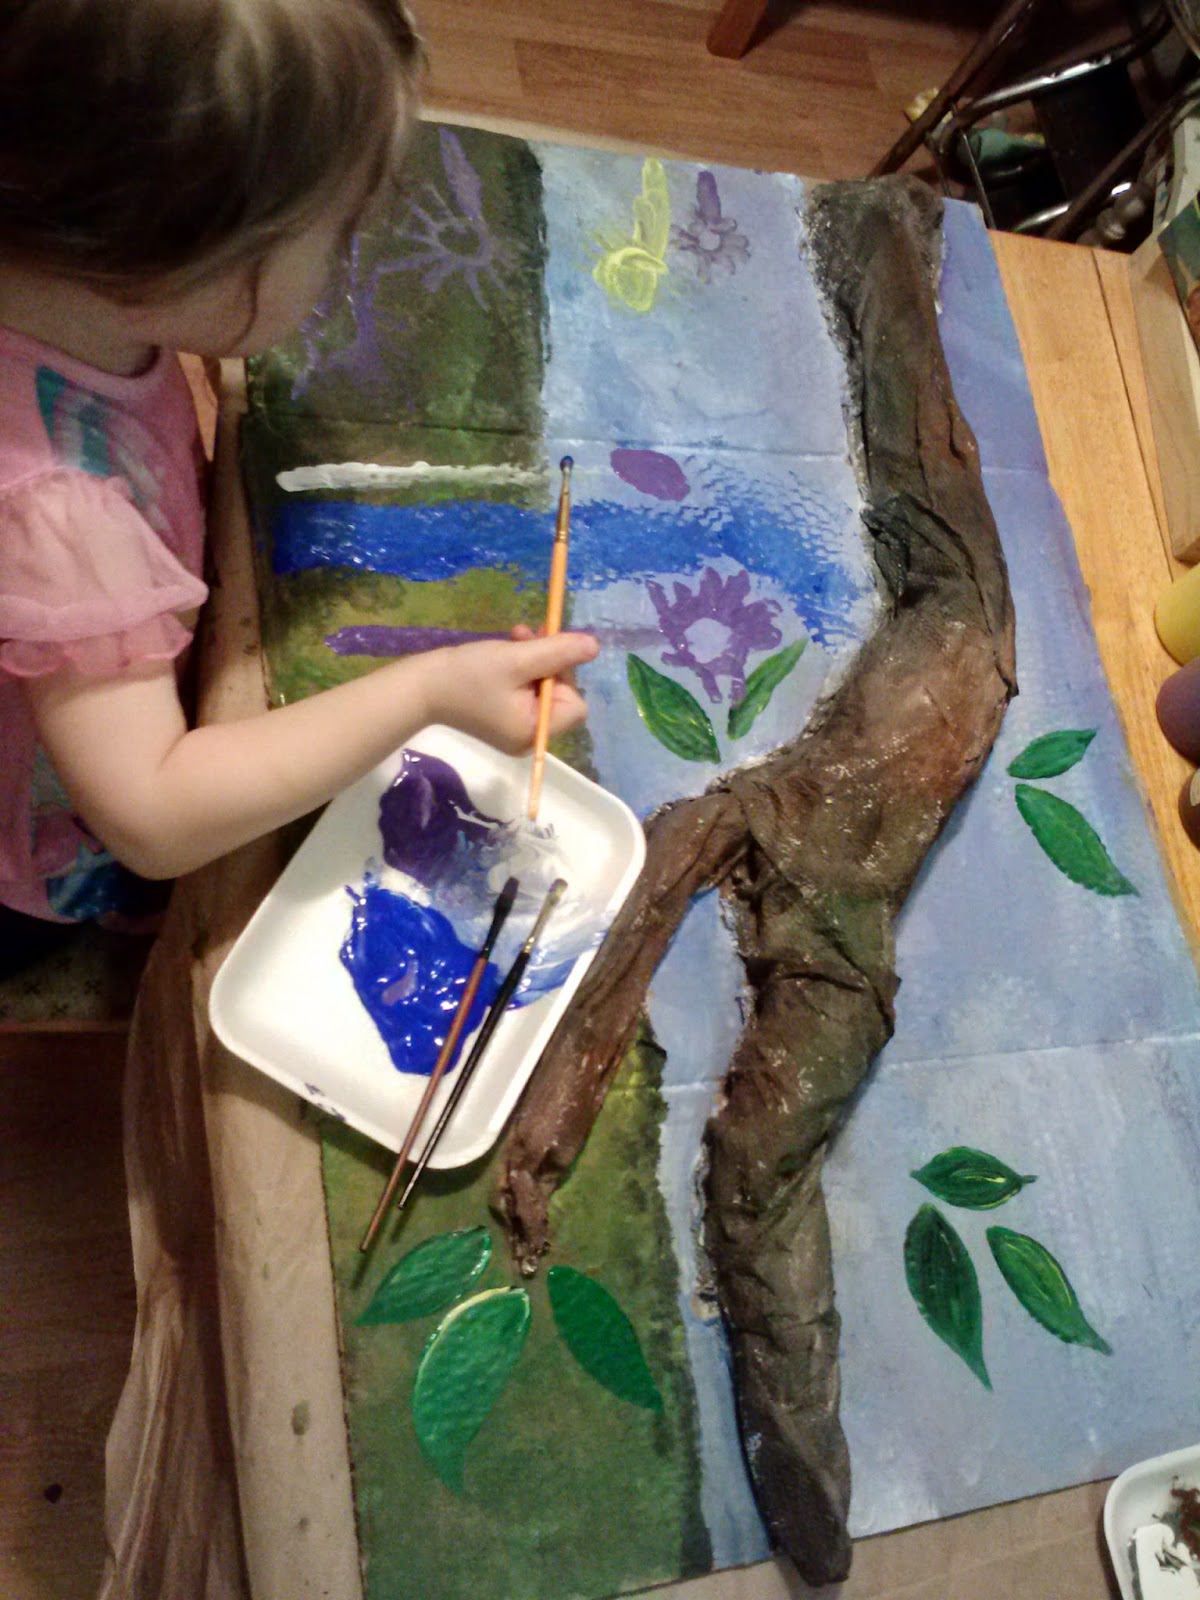
3) Give Them the Right Tools - If you want  small flowers don't hand them a big paint brush. If you are hoping for a garden of pink and purple, pull out those colors and leave the yellow and orange crayons in the box.

4) Let Go -  Yes, I know you have a vision of how this project is going to turn out, but so does every other member of your team. Ask open ended questions. Share your ideas. Communicate. Compromise. Create. This goes for kids and adults!

5) Plan Breaks - Not all attentions spans are created equally. Thankfully paint and glue take time to dry, creating convenient times for a break. Stretch. Have a snack. Change the music (or the baby). Take a nap. You don't need to finish in just one sitting. Remember - everything takes longer with kids, even art.


6) Check In - Every once in a while step back and look at your project. Share a complement. Ask a question (I noticed you used a different color on the belly of the bird. Why did you choose red?).

7) Resist the Impulse to 'Fix It'- Yes, it is crooked. No, it doesn't look like the one you saw on Pinterest. It was made by Your Team. It isn't 'wrong' and it doesn't need to be 'fixed'!

8) Be Proud -  Put your work on display. Encourage your child to talk about the art and the process with you and when showing others. What did they contributed and what did other team members add? What was challenging? What was new or fun? What do you want to make next?
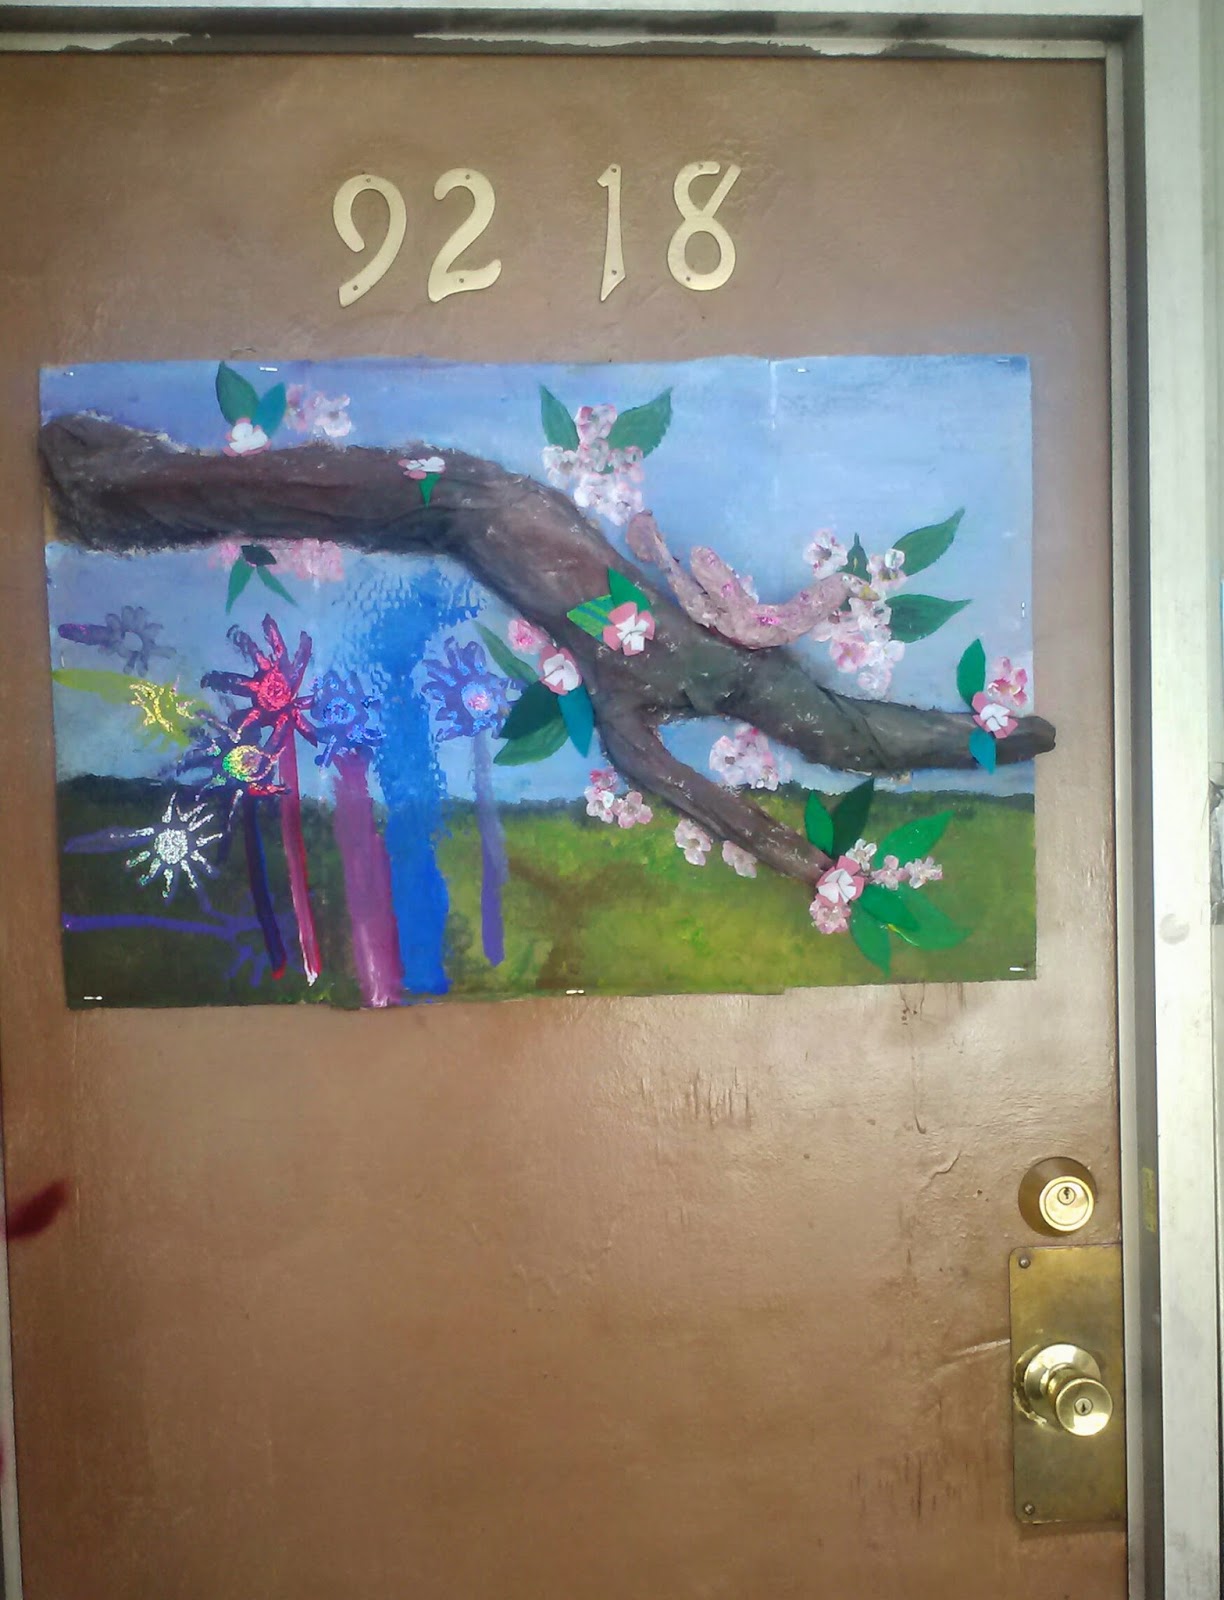
The Latest Neighborhood Beautification Project on Display


Monday, March 10, 2014

Turn, Turn, Turn Top - Little Kid Art Project


Turn, Turn, Turn Tops

Age: 18 Months - 8 Years or older (younger ones need more supervision)

Time: 15 min (+ lots more time playing with them!)

Theme: Color Mixing, Games

Books: White Rabbit’s Color Book by Alan Baker, Color Dance by Ann Jonas

Materials:
8” Round Cake Board (the cardboard base that bakeries use under their cakes)
Crayons*
Glass Beads (also called gems – they ones that are flat on one side)
Adults get to us a Hot Glue Gun

Prep: Set out the materials and plug in the hot glue gun safely out of reach

Activity: Each child gets a cake board and crayons. Decorate it any way you like! The ADULT then glues a glass bead to the center of the bottom. As soon as the glue cools, spin your top!

Notes/Tips: Ask you child what happened when their design was spinning. Challenge bigger kids to create a design that creates an optical illusion (like a spiral) or to experiment with the placement of the bead.

*The waxy surface of some cake boards resists crayon. If you want more vibrant colors try a student grade oil pastel (cray pas) or Crayola Construction Paper Crayons.  


Wednesday, October 2, 2013

My Neighborhood Beautification Projects

 
I love our apartment, but the block that we live on is ugly. It is under an elevated train. It is poorly lit. Our front door has been graffiti tagged (along with most of our neighbors). There aren't any trees. But I love our apartment. I said that right? Tucked in behind the barber shop, with the mural of the dolphins, and the chickens in the back yard; this apartment feels right. It feels like home. I've tried to tell myself that it doesn't matter that outside the front door leaves much to be desired... But it does. So this summer I decided I'd change it at least a little bit; give our block some love and color and give the people who pass by a reason to smile.
No place is ugly where there are smiles.


Saturday, August 3, 2013

Letter Recognition Activity with Water Colors


One of the things we have been working on this summer is letter recognition - by sound, sight and name. 

An activity we tried that was a lot of fun was an Alphabet Seek and Find that I designed (sort of like the activity I wrote about here).

I prepared a 12 x 18 paper by dividing it into 2" squares in white crayon, then entered the letters of the alphabet, her name, numbers 1 - 12, etc. also in white crayon. Then she used watercolors to 'discover' what was hidden on the paper.

As she went along we came up with words that started with each letter, guessed what letter could be found next - sometimes skipping ahead a few spaces and guessing what letter and numbers would be there - And of course it was great practice for fine motor skills and color mixing too.


Sunday, July 28, 2013

Magic Wands - Little Kid Art Project


Magic Wands

Age: 18 Months – 5+ Years (younger ones need more supervision)

Time: 10 min (+ Prep)

Theme: Magic

Books: The Magic Rabbit by Annette LeBlanc Cate, Extra Yarn by Mac Barnett

Materials:
Adhesive Backed Felt or Craft Foam
Yarn & String Scraps
Chopsticks
Adults get to use Scissors

Prep: Fold felt/foam and cut doubled shapes for wand tops (roughly 1”). Leave the folded edge intact (this way the pieces are more easily folded closed). Cut yarn and string into various lengths 4” – 12”

Activity: Each child gets a chopstick, a felt/foam shape and several pieces of yarn/string. Take the backing off of the felt/foam and place the top of the chopstick in the middle of the sticky side (littlest artists will need help with this). Choose what types of yarn and string your magic will travel on best. Add them to the sticky side too. When you have enough magic strands, close the wand top. Practice your magic. (Don’t forget to change everyone back to their original form before dinner!)

Notes/Tips: Kids who are learning scissor skills can practice on the yarn & string. String cuts best when held taunt, so this is also an opportunity for teamwork. In a group setting, magic wands can be used as ‘talking sticks’, indicating whose turn it is to speak. Foam stickers also work as wand tops.
 

Saturday, May 11, 2013

Watercolor Seek & Find


The Figlet has been enjoying hide-and-seek more than ever lately, so the last time we got out the water colors we made a little game of it.
 
I used a white crayon to draw hearts all around the paper before I gave it to her for painting. She was delighted every time she found one!

Friday, February 8, 2013

How to Make a Secret Message Card

 
 I was going to make these with the school age kids I work with today, but a snow storm got in the way. I was really excited that they were going to be able to use this process for Valentines cards. Unfortunately the next time we meet will be after the holiday. Sigh...
 
 
The idea is to use Alphabet Noodles  to create cards that contain secret messages that can be revealed by rubbing over the area with a crayon. The card itself is like any basic hand made card, but the message is spelled out in pasta then hidden under an extra layer of paper. The lighter weight the 'cover' paper the more clearly the message shows when you create the rubbing, so be sure to use 20# (copy paper weight) or lighter.
 
A test rubbing made with heavier paper


Tuesday, January 15, 2013

Garbage Truck = Snow Plow?! In NYC it does!

Image borrowed from this web site that has lots of neat info about garbage trucks
Did you know that in New York City we don't have many big snowplows? When we get a snow storm, they suspend garbage pick up and put plow blades on the front of the garbage trucks!

Armed with that bit of trivia and inspired by this 3D Snowplow Craft from Reading Confetti, I came up with this activity to share with the little ones at story time.

We started with a coloring page of a city garbage truck. I used this one but I printed it, trimmed the blah blah blah info off the bottom then made copies for the kids.
 
We used our glue sticks to attach the TP tube plow blade and cotton ball snow. (The little ones really enjoyed pulling the cotton apart.) Then we traded in our glue sticks for crayons and colored them in.


Thursday, January 10, 2013

Things That You Can Paint With - Creative Discovery Toddler Style


Painting has been the Figlet's art activity of choice lately.
To keep things interesting, she has been testing out the
marks she can make with all kinds of things....
 
Feathers
 
Sponge, Onion Bag, Marbles & Beads
 
Fingers & Fake Flowers
 
Spool, TP Tube, Brushes
 
Foam Sticker Stamps
 

Brushes & Burlap
 
There is such joy in discovery!
 
"When my daughter was about seven years old, she asked me one day what I did at work. I told her I worked at the college - that my job was to teach people how to draw. She stared at me, incredulous, and said, "You mean they forget?" Howard Ikemoto


Saturday, December 8, 2012

Decorating Gift Bags with DIY Foam Stamps


Decorating Gift Bags with DIY Foam Stamps
 
I love this project because it is great for a wide range of ages. The samples shown were done by the elementary school kids I work with.
 
We used:
Paper bags (mine had handles but not required)
Foam sheets (any color - scraps are fine)
Chipboard (aka cereal box cardboard)
Paint
Paintbrushes
Glue sticks
Scissors
 
How we made the stamps:
Cut out foam shapes
Most everyone used a lot of little pieces to make their image
Glued them to the chipboard to make a design
Some kids tried to make words. This is harder than it looks because the words and the letters have to be backwards!
 
How we printed the bags:
We used paint brushes to put paint onto the foam so we could use different colors at the same time
Pressed them onto our bags, then lifted carefully
Did it again and again
Let them dry
Printed the other side
 
If we do it again we will:
Have lots of big paper to print matching wrapping paper
Have feathers and glitter and buttons and other fun stuff to add after they are dry
Plan different designs together & share our stamps


Saturday, August 25, 2012

An Elephant You Can Play With - Toddler Art Project


An Elephant You Can Play With

Age: 18 Months - 5 Years (younger ones need more supervision)

Time: 10 min (+ Prep)

Theme: Elephants

Books: Seven Blind Mice by Ed Young, Listen to my Trumpet by Mo Willems (or choose your favorite Elephant & Piggie book)

Materials:
Construction Paper (heavier/higher quality works best)
Bendy Straws
Crayons
Adults get to use Scissors and Hole Punch

Prep: Choose different colors of construction paper for the head and body. For the body cut an H shape the size of ¼ of a sheet. For the head, cut a bow tie shape the size of 1/6 of a sheet. Punch two holes in the ‘bar’ of the H and one hole in the center of the head for the straw to feed through.

Activity: Each child gets a pre-cut elephant body, head and crayons. Decorate, draw, scribble! When done, have an adult help feed the long end of the straw through the holes in the head and body, leaving the ‘bendy’ as the trunk. PLAY!

Notes/Tips: Straws come in slightly different diameter, so make sure the ones you have fit snugly in the punched holes. If the straw is too narrow, cut a small ‘x’ with an exacto blade instead of punching holes. The easiest way to size the pieces is to fold the paper into quarters or sixths first. You can also cut multiples easier this way. This easily becomes a big kid project - just let them do the prep themselves.
 

Saturday, August 11, 2012

Make a Llama with Art Mama - Toddler Art Project

Story Time Llama

Make a Llama with Art Mama

Age: 18 Months - 5 Years (younger ones need more supervision)

Time: 10 min (+ Prep)

Theme: Llamas

Books: Llama Llama Misses Mama by Anna Dewdney, Is Your Mama a Llama by Deborah Guarino

Materials:
Card stock and printer
Yarn (the fuzzier the better)
Adults get to use Scissors & Hole Punch

Super Fuzzy Yarn!

Prep: Find a simple drawing of a llama. (I choose these by Kat Wong http://www.katdoodles.com/2012/02/l-is-for-llama.html) Instead of just printing out the page, copy the image and paste it into a word document. Adjust page orientation and the size of the image as desired. Print image onto cardstock paper. Cut out in rough outline, then punch holes within the body of the llama. Cut a length of yarn for each llama about 18” long.

Llama Full of Holes

 Activity: Each child gets a llama and a length of yarn. Thread the yarn through the holes every which way until your llama is sufficiently fuzzy. If you have extra yarn at the end, you can give your llama a scarf! Introduce your llama to your mama and your friends.

Llama in Progress

Notes/Tips: If little ones have difficulty putting the end of the yarn through the holes, demonstrate how to hold the yarn against the back of the hole so some of the ‘fuzz’ can be grasped and pull the yarn through. In Word, if you format the picture as ‘Behind Text’ it will allow you to move it freely around the page. Heavier paper makes a sturdier llama – but be aware of your printer capabilities.

Tuesday, July 31, 2012

Someday I will have a studio...

Someday I will have a studio - a place dedicated to art making - with shelves so overflowing with art supplies that creativity simply drips down onto the table where I work. But in the mean time my family graciously accepts that:
 Things like this will sprout up in the bathroom...

And things like these will appear in the living room...


And that the kitchen hutch can't hold any fancy dishes
because it is full of art supplies...

I love my family!

Saturday, July 7, 2012

Sunflower Offers Psychiatric Help for a Nickle


In NYC everyone lives within close quarters. There is a thin ledge about 2' high with a 6' fence between the back of our yard and the neighbor's side alley. To utilize the space for plants and provide a little visual privacy we built planters out of old pallets and decorated them to look like market stands. One is a kissing booth, another a monster and the last a tribute to Lucy's Psychiatric Help Booth. The doctor may be out, but the sunflowers are in bloom. Somehow that makes it all okay.