Showing posts with label I Spy. Show all posts
Showing posts with label I Spy. Show all posts
Saturday, August 3, 2013
Letter Recognition Activity with Water Colors
One of the things we have been working on this summer is letter recognition - by sound, sight and name.
An activity we tried that was a lot of fun was an Alphabet Seek and Find that I designed (sort of like the activity I wrote about here).
I prepared a 12 x 18 paper by dividing it into 2" squares in white crayon, then entered the letters of the alphabet, her name, numbers 1 - 12, etc. also in white crayon. Then she used watercolors to 'discover' what was hidden on the paper.
As she went along we came up with words that started with each letter, guessed what letter could be found next - sometimes skipping ahead a few spaces and guessing what letter and numbers would be there - And of course it was great practice for fine motor skills and color mixing too.
Wednesday, August 29, 2012
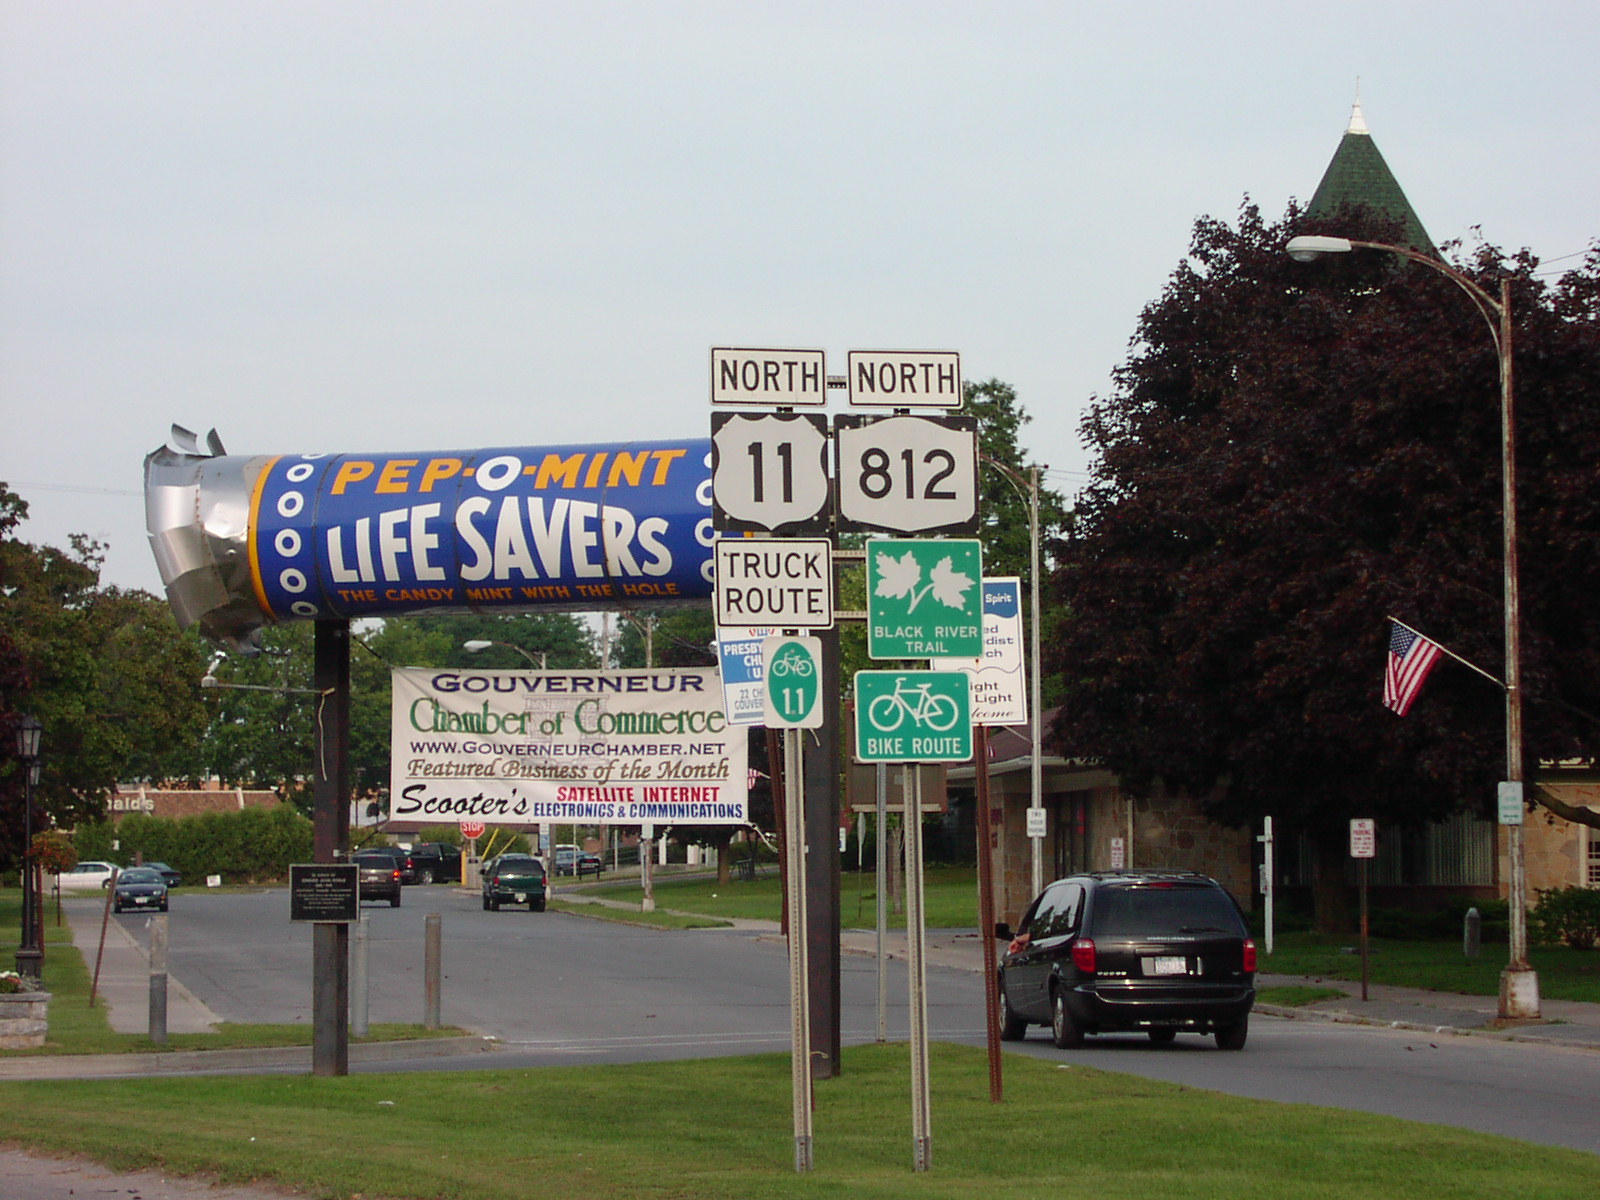
What is Your Home Town's Claim to Fame?
 |
| From Bike The Byways |
Everybody’s home town has a claim to fame. My home town,
Gouverneur, NY is where the founder of the Life Savers Candy Company, E.J.
Noble, was born. There is a giant roll of Pep-O-Mint Life Savers in the middle
of town. This statue (along with the local museum’s two headed calf),
is what has earned Gouverneur mention on the Roadside America web site.
This is not a paid promotion. I don't even get a free bumper sticker or anything. I have just found some cool
stuff on the site. Roadside America is a guide to finding offbeat attractions,
which in my mind are the best kind! You can find any number of small town
museums, works made in homage to their originals (like Foamhenge in VA), and
stuff that you have only seen in the movies (hint for Kevin Smith fans, head for NJ).
.jpg) |
| From Earth Art By Brad |
 |
| Figlet & Her Daddy |
 |
| The End |
Monday, March 12, 2012
I Spy Window Art - Toddler Art Project
I Spy Window Art
Age: 18 Months - 5 Years (younger ones need more supervision)
Theme: Open
Books: Any of the I Spy series
Materials:
Contact Paper (sticky clear stuff)
Transparency Paper Assorted scraps of paper, yarn, tissue, sequins, spangles, foam pieces, etc
Adults get to use Colored Masking Tape and Scissors
Prep: Cut (1) piece of contact paper per child slightly larger than the sheet of transparency paper (so if 8-1/2 x 11 then 9 x 12 etc). Remove the paper backing. Using tabs of masking tape, secure the contact paper to the table sticky side up.
Activity: Each child gets to decorate the contact paper, covering it with items of their choosing. When they are finished, an adult can assist with placing the transparency paper over their design to seal it in.
Finishing: (Can be done by just an adult or older kids can help) Trim the excess contact paper so that it is flush with the transparency. ‘Edge’ the entire design with colored masking tape folded over the sides. This will both create a frame and further secure the items inside.
Notes/Tips: It is a lot easier if you can set this project up in advance of the kids coming to the work space. Choose age appropriate items to go inside (no spangles for the wee ones). Distributing the little items on a paper plate will save on a ton of clean-up!
Subscribe to:
Posts (Atom)


