Showing posts with label easter. Show all posts

Wednesday, April 16, 2014

Collaborating on Art Projects with Little Kids


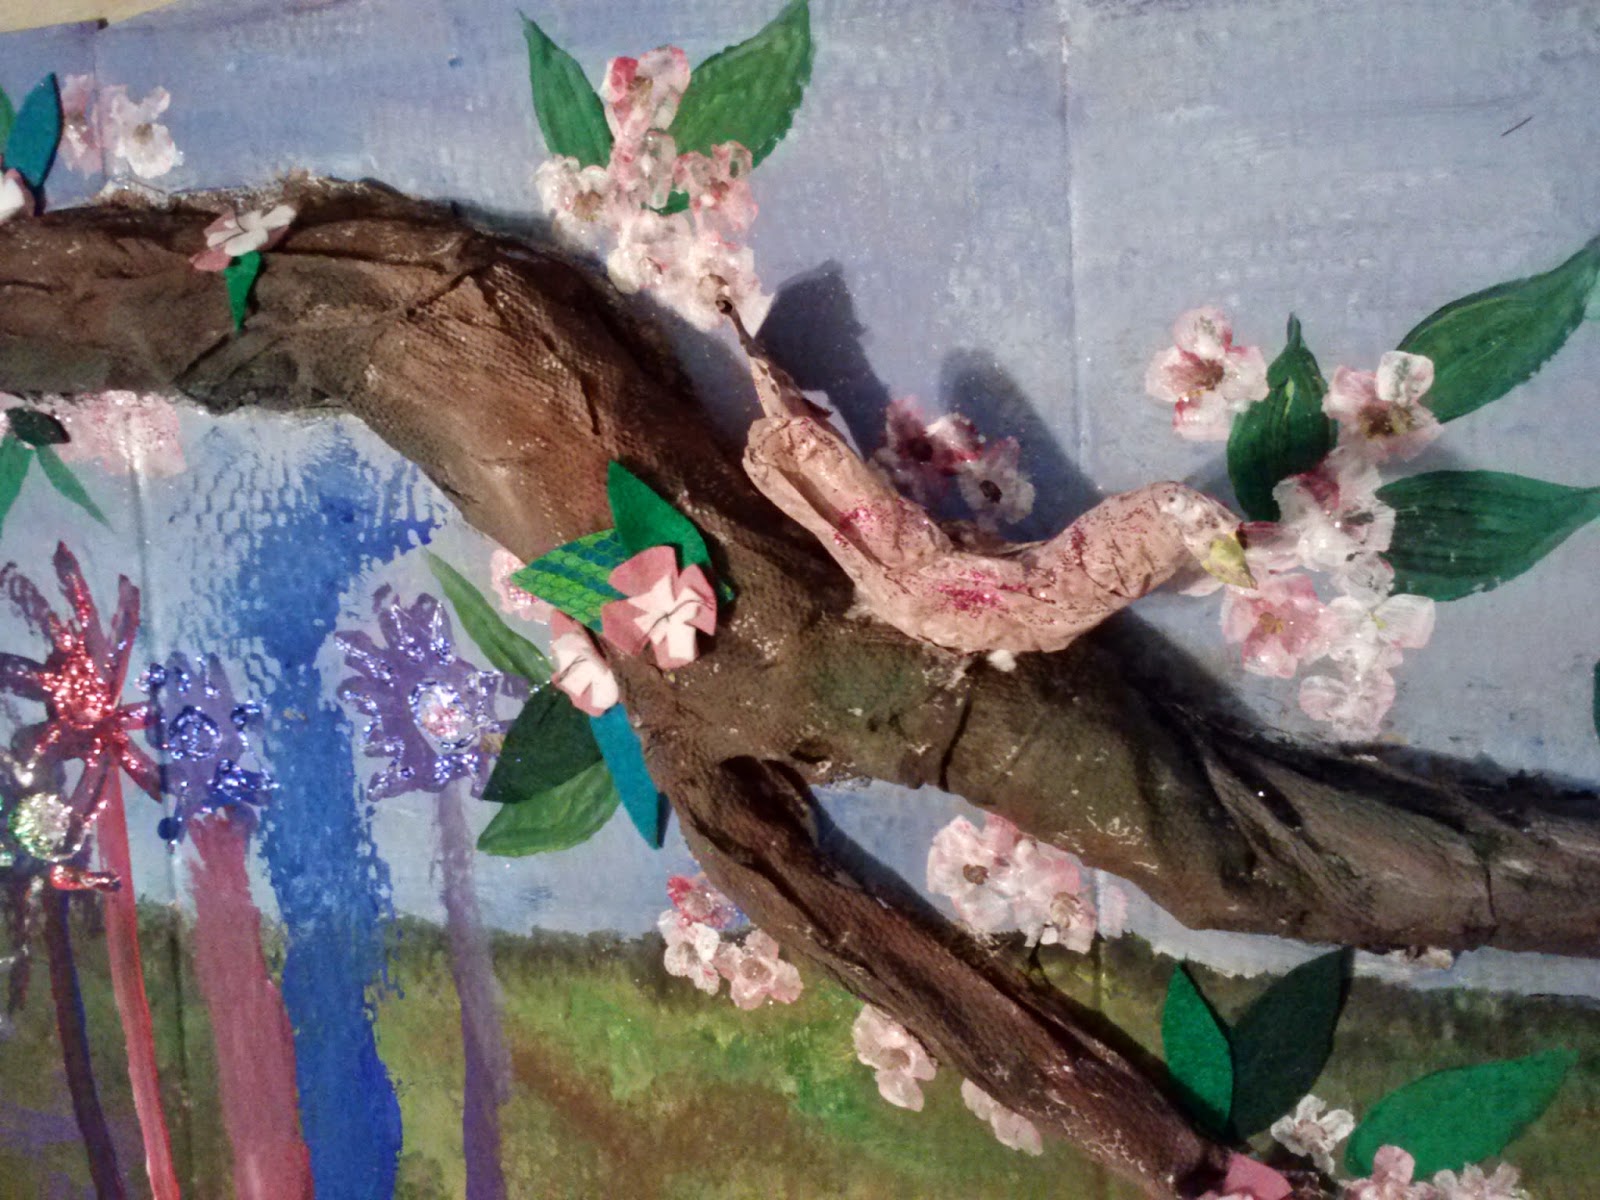
Detail of Our Ode to Spring

Collaborating on a project isn't easy. Collaborating on an art project with a 4yr old... You might think that it is impossible, but it is not. Here are 8 pointers to help you along.

1) Plan Ahead With Your Team - (Yes, I just referred to you and your child(ren) as a team. If you are going to make something together that is what you need to be.) Come up with a basic idea of what you are making, the materials you will need, the steps involved, where you will work, when you will do it, etc. This will help to get everyone invested in the project and give you a chance to organize in advance.

2) Identify Steps and Tasks - There are some things that you youngest team mates can't do but there are a whole lot of things they can. Identifying those things in advance makes redirection easy without letting it turn into a power struggle. For example: I need to be the one to use the X-Acto knife to cut here because it is very sharp, but we also need some triangles. Can you cut them with your scissors?
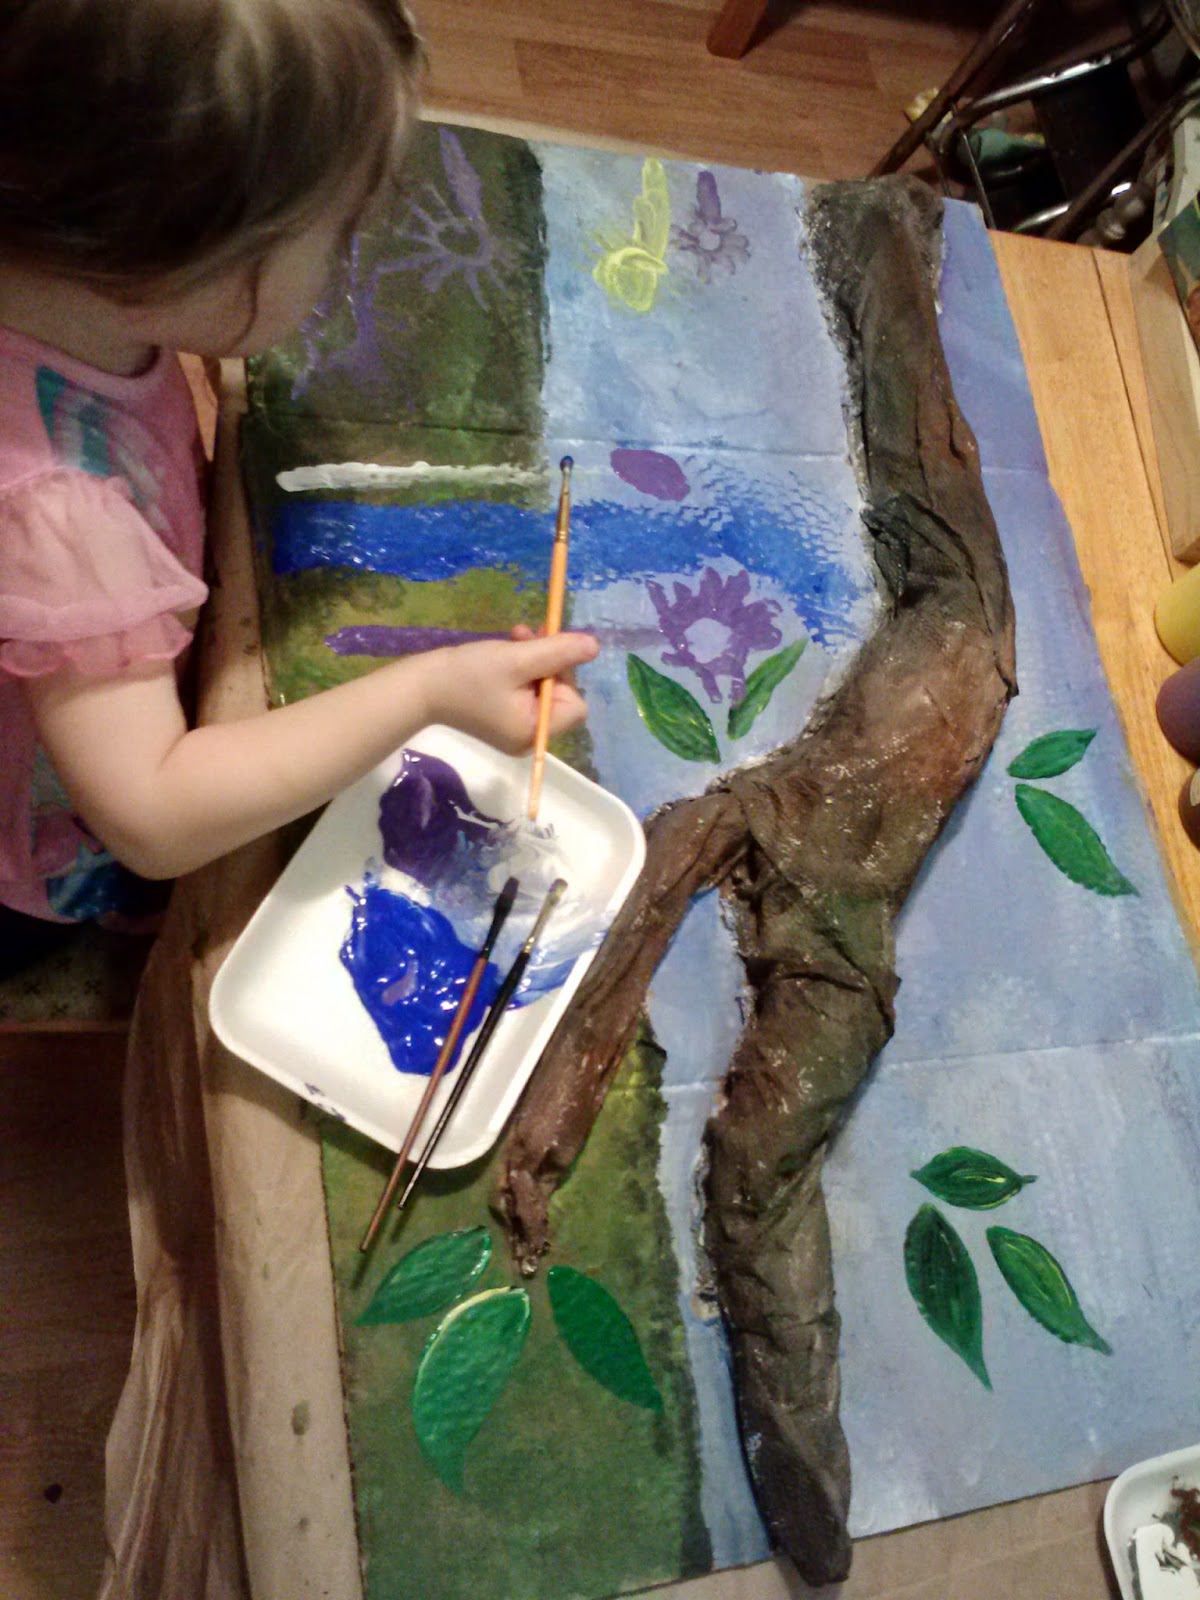
3) Give Them the Right Tools - If you want  small flowers don't hand them a big paint brush. If you are hoping for a garden of pink and purple, pull out those colors and leave the yellow and orange crayons in the box.

4) Let Go -  Yes, I know you have a vision of how this project is going to turn out, but so does every other member of your team. Ask open ended questions. Share your ideas. Communicate. Compromise. Create. This goes for kids and adults!

5) Plan Breaks - Not all attentions spans are created equally. Thankfully paint and glue take time to dry, creating convenient times for a break. Stretch. Have a snack. Change the music (or the baby). Take a nap. You don't need to finish in just one sitting. Remember - everything takes longer with kids, even art.


6) Check In - Every once in a while step back and look at your project. Share a complement. Ask a question (I noticed you used a different color on the belly of the bird. Why did you choose red?).

7) Resist the Impulse to 'Fix It'- Yes, it is crooked. No, it doesn't look like the one you saw on Pinterest. It was made by Your Team. It isn't 'wrong' and it doesn't need to be 'fixed'!

8) Be Proud -  Put your work on display. Encourage your child to talk about the art and the process with you and when showing others. What did they contributed and what did other team members add? What was challenging? What was new or fun? What do you want to make next?
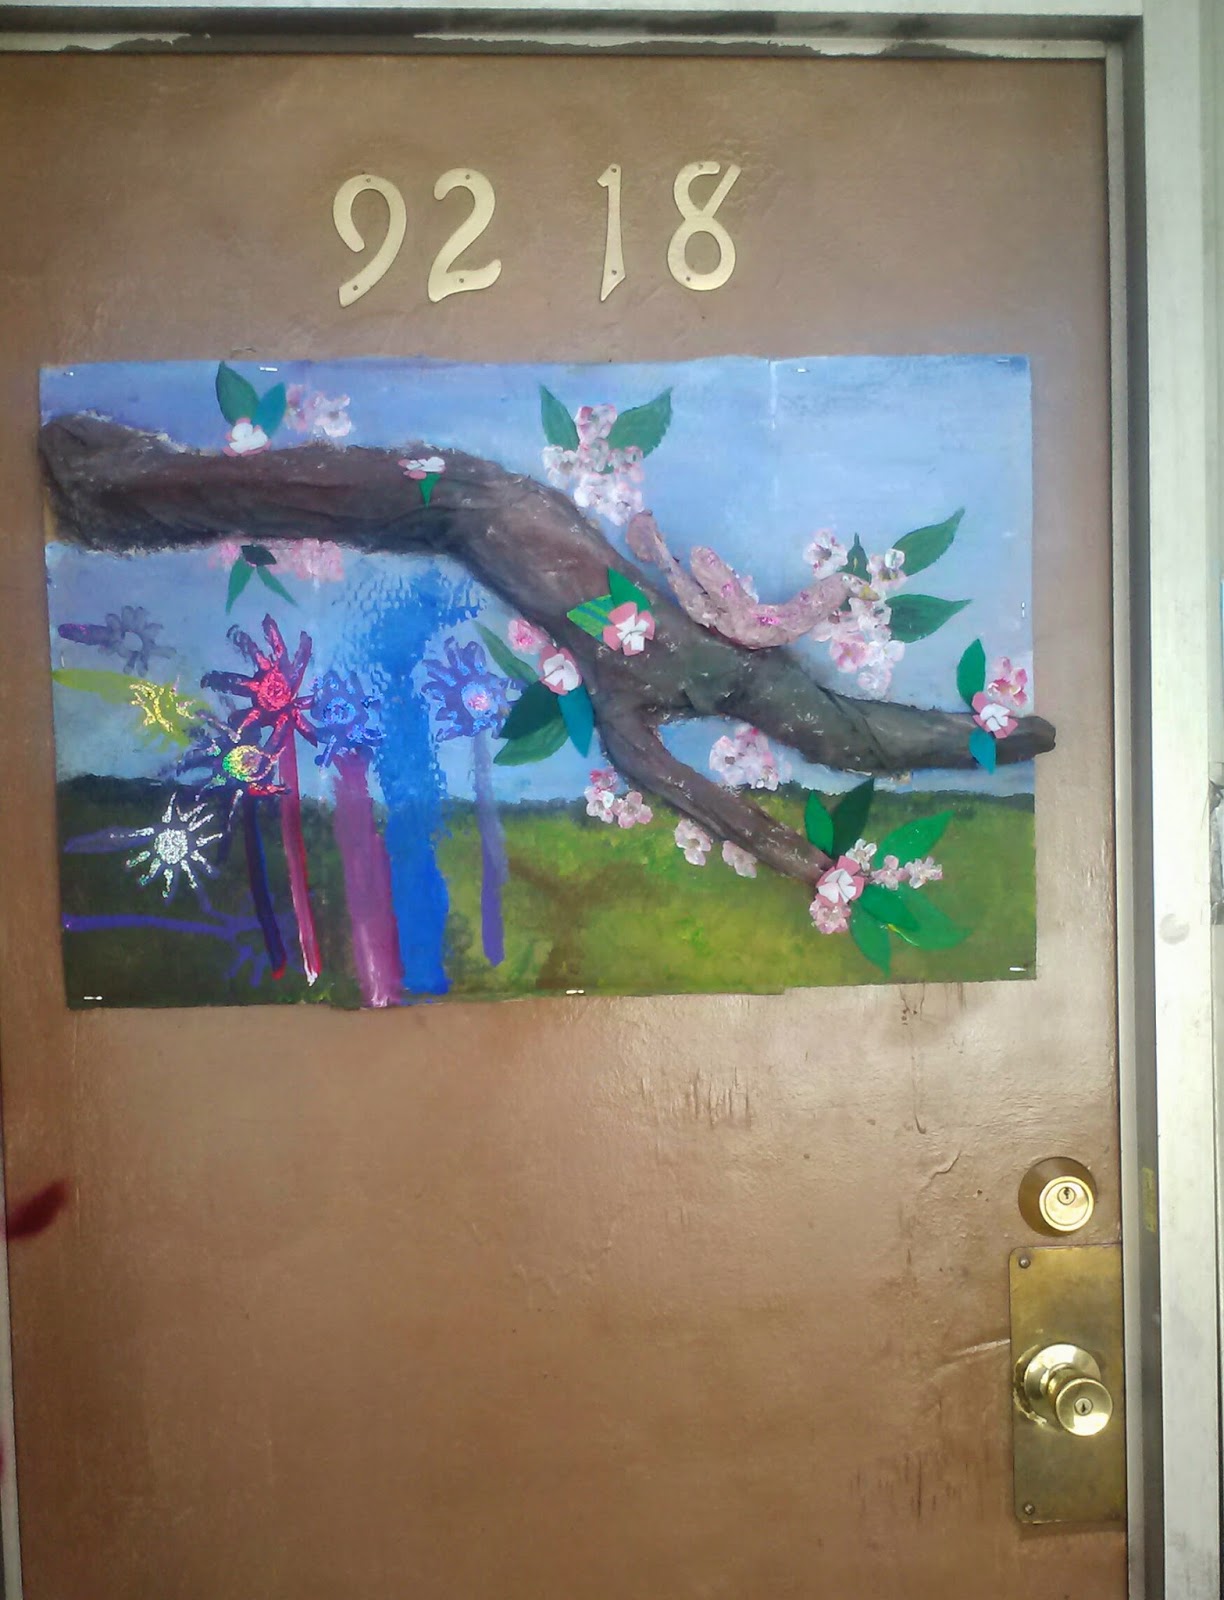
The Latest Neighborhood Beautification Project on Display


Saturday, April 7, 2012

Silk Dyed Eggs


When our Cochin Bantam hens started laying last year, it seemed like everyone who saw them commented on how dainty and beautiful the eggs were. This got me thinking – maybe I should make some sort of a craft with them.
I think it was my cousin who suggested that I silk dye them. Apparently way back in the day there was a Martha Stewart episode that featured her being taught how to silk dye eggs. I didn’t see it. What I did see was this instructional filled with luscious pictures: http://www.ourbestbites.com/2012/03/silk-dyed-eggs-aka-tie-dyed/ that made me absolutely want to try it myself.

I dyed my first ones back in November using an old skirt that I had. They came out great. I went out and bought some silk ties and did some more. I found out that the darker colors, specifically purple and blue, transfer the best. I also found out that some ties, even though they are marked silk – are lying. I made ornaments with the dyed eggs (I always blow them first), sold a few at a local craft fair, but mostly gave them away as gifts.
This spring when the girls started laying again, I decided I would make another batch for our spring holiday basket. So far I think this is my favorite way to dye eggs!

Tuesday, April 3, 2012

Mail-able Art for Easter - Toddler Art Project

The process of this project is a lot like the I Spy one I posted a while back, but with an interior frame added. It is also sized so that it can be sent through the mail!


Mail-able Art for Easter

 
Age: 18 Months - 12 Years (younger ones need more supervision)

Time: 15 min (+ Prep)

Theme: Eggs, Easter, Mail

Books: Open
Materials:
Contact Paper (sticky clear stuff)
Black construction paper
Transparency Paper
Assorted scraps of paper, yarn, tissue, sequins, spangles, foam pieces, etc
Adults & Big Kids get to use Colored Masking Tape and Scissors

Prep: Cut an ‘egg’ out of ½ a sheet of black construction paper, then trim the inside to create an egg shaped frame – you can remove the whole of the inside or segments to create a design. Cut (1) piece of contact paper per child slightly larger than 1/2 sheet of transparency paper (apx. 6 x 9). Remove the paper backing. Using tabs of masking tape, secure the contact paper to the table sticky side up. For younger kids, adhere the egg frame to the contact paper for them. Write the address where the card will be sent on a small (about “1 x 3”) piece of decorative paper.

Activity: Each child gets to decorate their ‘egg’ with items of their choosing. When they are finished, an adult can assist placing the address in the center of the design, then placing the transparency paper over their design to seal it in.
Finishing: (Can be done by just an adult or older kids can help) Trim the excess contact paper so that it is flush with the transparency. ‘Edge’ the entire design with colored masking tape folded over the sides. This will both create a frame and further secure the items inside. The final piece should be about 8” x 5” and can be mailed with a regular stamp (not postcard).

Notes/Tips: This project can be modified for other seasons by changing the shape of the construction paper frame – or using none at all. Just remember to keep proportioned like a greeting card. It is a lot easier if you can set this project up in advance of the kids coming to the work space. Choose age appropriate items to go inside (no spangles for the wee ones). Distributing the little items on a paper plate will save on a ton of clean-up!