Friday, September 5, 2014

Harvesting Potatoes


 Today we harvested potatoes.


 It was a lot like digging for treasure


And finding it.


Lots of it!


Yum!

Wednesday, May 28, 2014

Letter to a Home Town - What do I tell Her?


On the May 23rd Elliot Roger went on a killing spree in a California college town. On May 26th, my Daughter the Elder turned 13. These two events should have nothing to do with each other, but they do. Elliot Roger’s motive was clearly documented. Among other things his misogynistic rants and writings detailed how he wanted to enact retribution on women for rejecting his advances. By all estimations my daughter is becoming a woman. 

The extreme actions of Elliot Roger, while obviously those of a mentally disturbed individual, did not happen in a vacuum. There is an undeniably misogynistic layer of our culture that deeply impacts the way that women live their everyday lives. Not all men participate in the degradation of women, but enough do that all women are taught to prepare themselves physically and mentally for the seemingly inevitable.

As she becomes a woman, what do I tell my daughter about the way she dresses? Do I praise her modesty when she chooses to wear shorts that come below the knee? I know it is because she is not yet comfortable in her changing body. Puberty is awkward for everybody. I want her to be comfortable in her skin but at the same time I feel a sense of relief at her choice to dress in a way that does not convey overt sexuality. It is safer because, welcome or not, that new body will draw attention.

As she becomes a woman, what do I tell my daughter about keeping her body safe? Do I remind her that her years of martial arts training can help to protect her in case of an assault?  I know that she would not hesitate to defend herself from a stranger, but if it were someone she knows… She doesn’t like to cause a scene. I want her to feel secure in her ability to defend herself even if that person is someone she or we thought was trustworthy. How do I do that without implying that no one is trustworthy?

As she becomes a woman, what do I tell my daughter about saying what she means? Do I keep encouraging her to speak up, assuring her that her voice will be heard? How can I not feel a tinge of hypocrisy when she tells me she has been coached to yell “fire” before “help” because it is a more effective way to get people to respond? All I can truly assure her is that I will listen…

There is little solace to be found in tragedies like this: the death of six people and injury of 13 others at the hands of a deranged man with a vendetta against women… Except maybe it will help to uncover the depth of damage being done to men and women by the misogynistic layer of our culture. And maybe if it can be seen it can be changed for all of our daughters - and sons.

I hope that this letter has found you and yours in good spirits and good health. Until I write again…

Wednesday, April 16, 2014

Collaborating on Art Projects with Little Kids


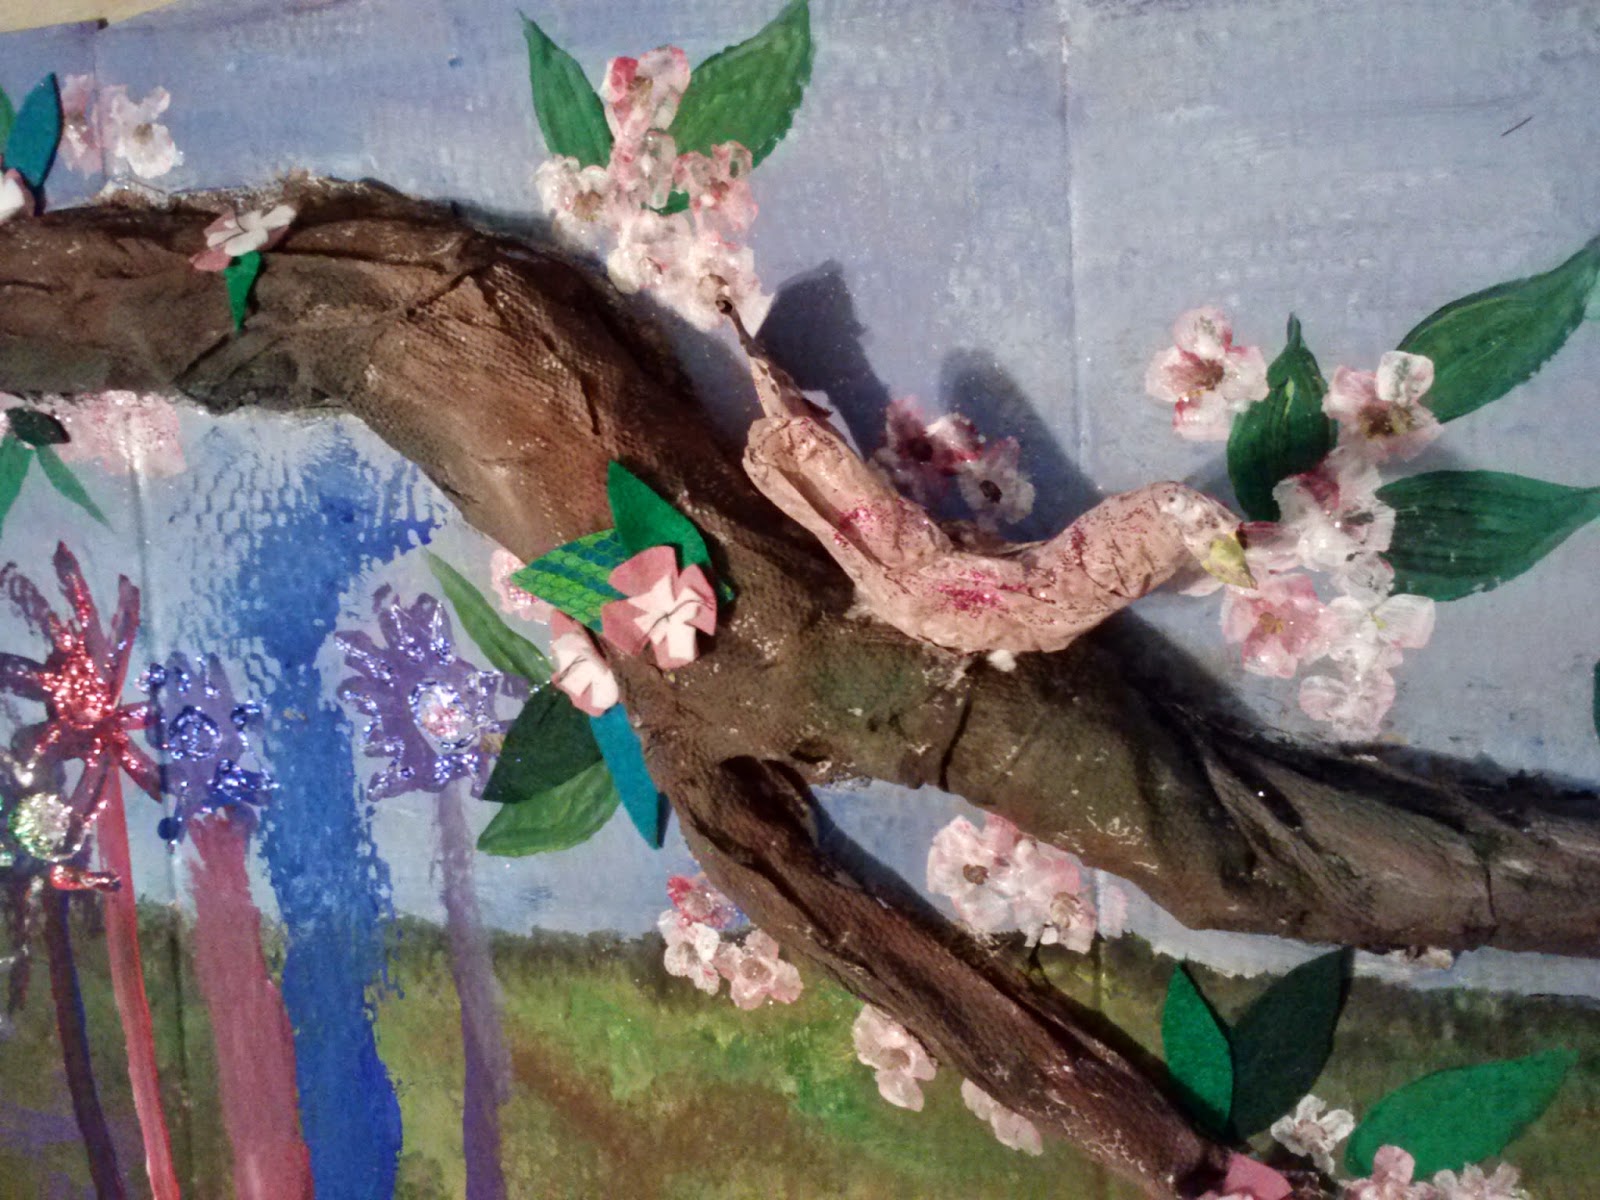
Detail of Our Ode to Spring

Collaborating on a project isn't easy. Collaborating on an art project with a 4yr old... You might think that it is impossible, but it is not. Here are 8 pointers to help you along.

1) Plan Ahead With Your Team - (Yes, I just referred to you and your child(ren) as a team. If you are going to make something together that is what you need to be.) Come up with a basic idea of what you are making, the materials you will need, the steps involved, where you will work, when you will do it, etc. This will help to get everyone invested in the project and give you a chance to organize in advance.

2) Identify Steps and Tasks - There are some things that you youngest team mates can't do but there are a whole lot of things they can. Identifying those things in advance makes redirection easy without letting it turn into a power struggle. For example: I need to be the one to use the X-Acto knife to cut here because it is very sharp, but we also need some triangles. Can you cut them with your scissors?
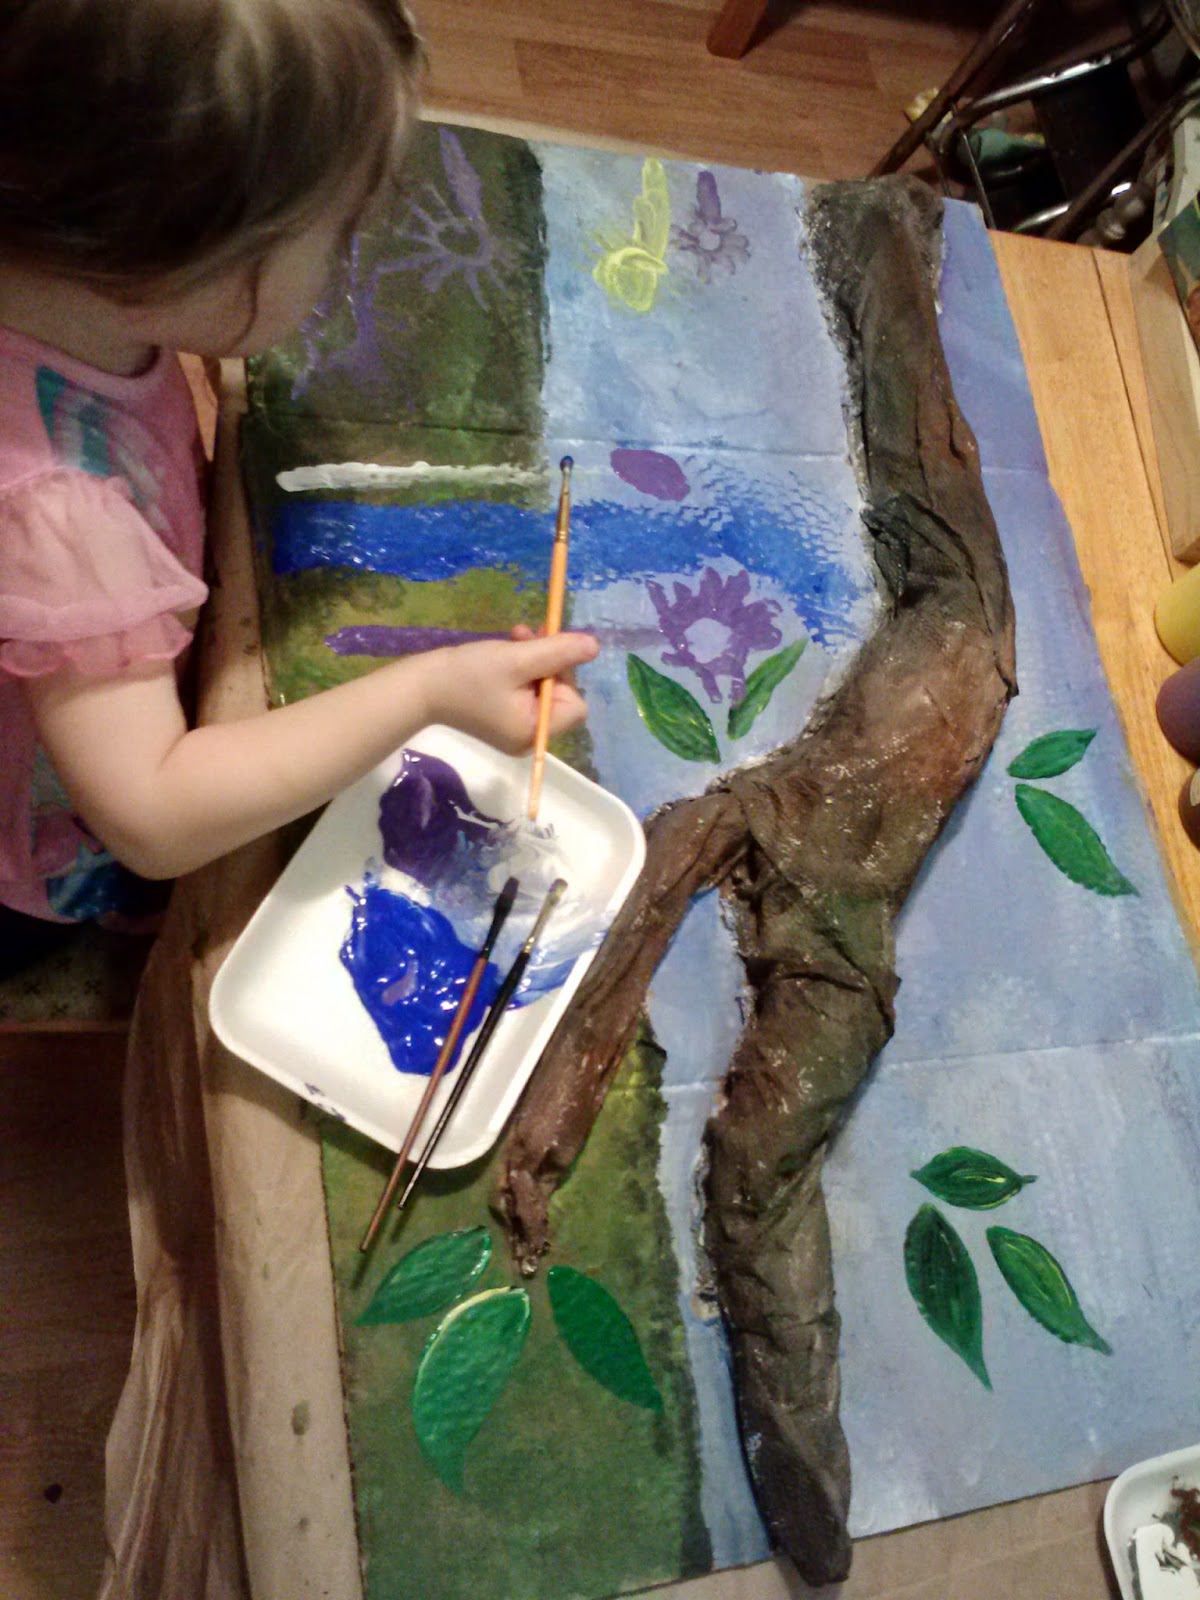
3) Give Them the Right Tools - If you want  small flowers don't hand them a big paint brush. If you are hoping for a garden of pink and purple, pull out those colors and leave the yellow and orange crayons in the box.

4) Let Go -  Yes, I know you have a vision of how this project is going to turn out, but so does every other member of your team. Ask open ended questions. Share your ideas. Communicate. Compromise. Create. This goes for kids and adults!

5) Plan Breaks - Not all attentions spans are created equally. Thankfully paint and glue take time to dry, creating convenient times for a break. Stretch. Have a snack. Change the music (or the baby). Take a nap. You don't need to finish in just one sitting. Remember - everything takes longer with kids, even art.


6) Check In - Every once in a while step back and look at your project. Share a complement. Ask a question (I noticed you used a different color on the belly of the bird. Why did you choose red?).

7) Resist the Impulse to 'Fix It'- Yes, it is crooked. No, it doesn't look like the one you saw on Pinterest. It was made by Your Team. It isn't 'wrong' and it doesn't need to be 'fixed'!

8) Be Proud -  Put your work on display. Encourage your child to talk about the art and the process with you and when showing others. What did they contributed and what did other team members add? What was challenging? What was new or fun? What do you want to make next?
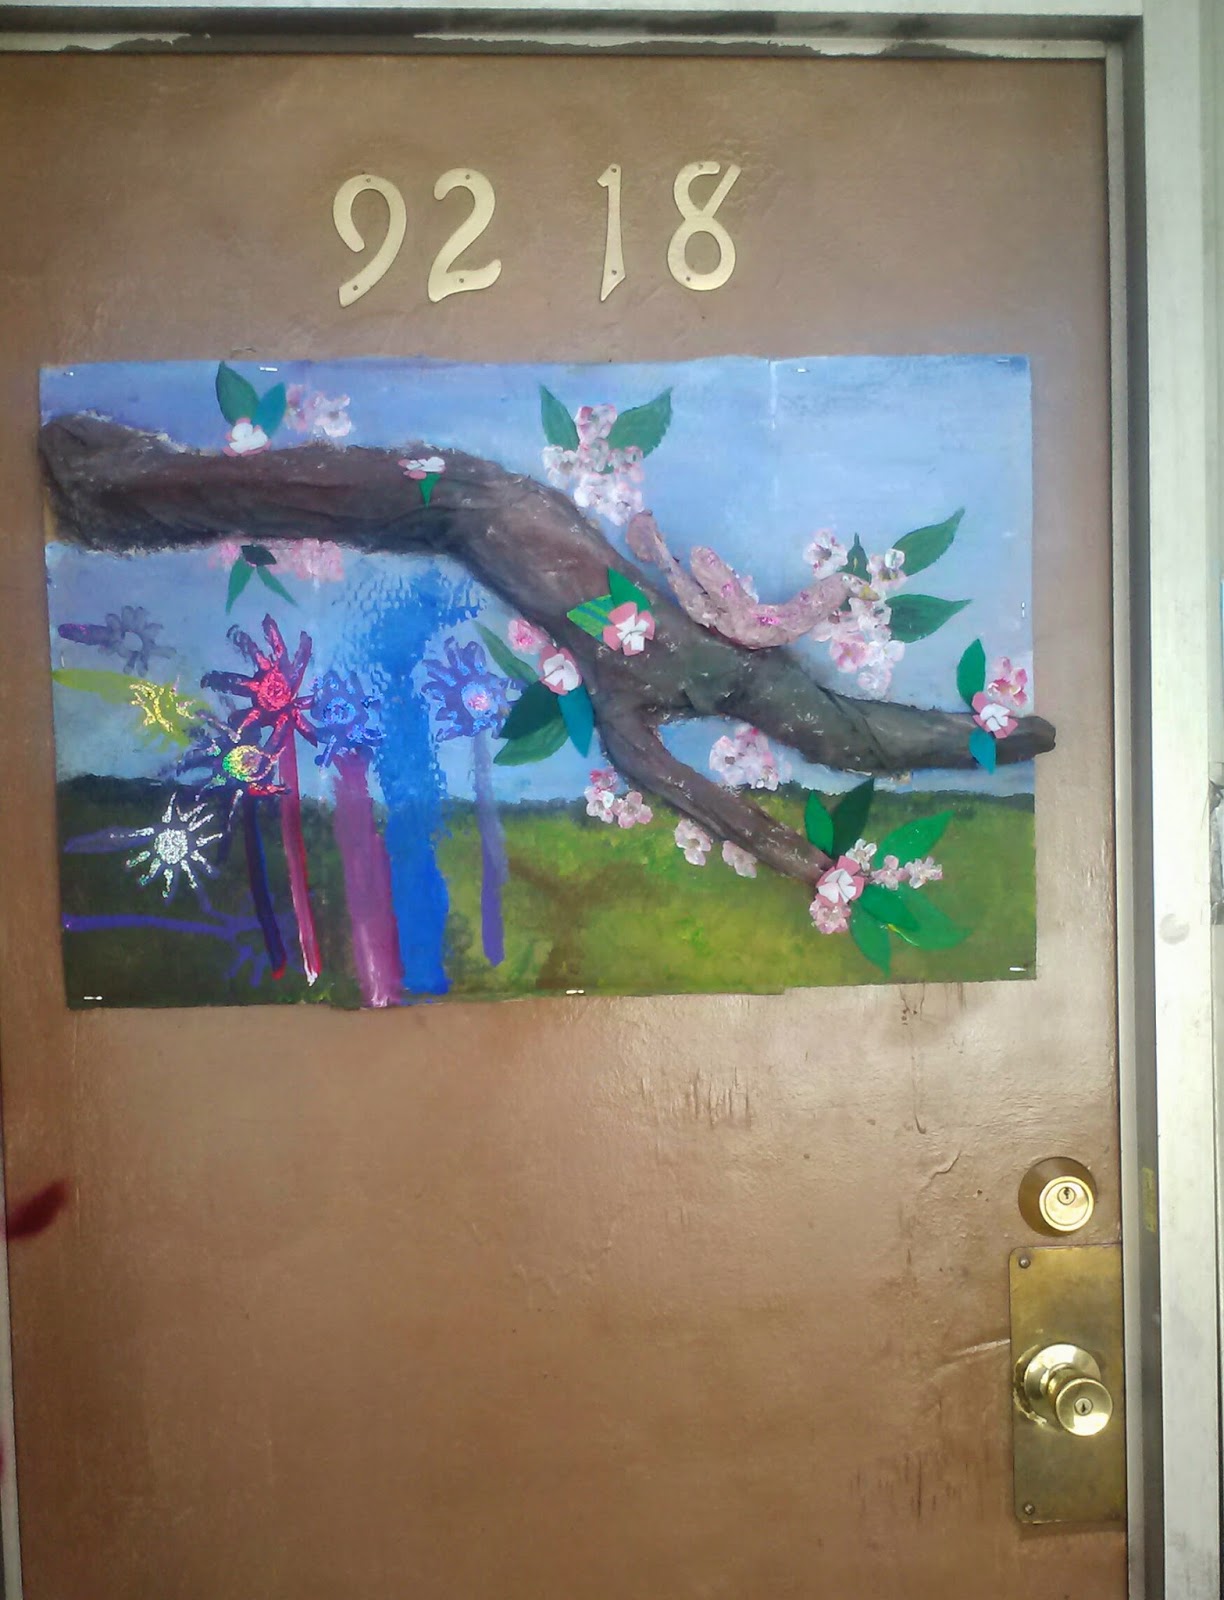
The Latest Neighborhood Beautification Project on Display


Thursday, April 10, 2014

Simple Science - Plant Maze


We have been planting and tending seedlings for a few months now, and the Figlet has been making all sorts of observations. 
One observation she had made was the way that the plants would 'reach' for the sunlight, so when I saw this experiment I knew 
we had to try it. 


First we soaked and sprouted some pea seeds.


Then we constructed a maze in a shoe box 
using pieces of cardboard, a TP tube and masking tape. 
When the maze was ready, we planted the sprouted seeds 
in a container and put it at the 'start' of the maze.


We set it up in a window, checking every few days to be sure that the soil stayed damp. It took longer than we thought it would for the peas to make their way to the light - about 10 days.
But they made it!

In case you are wondering, the technical term for the way that a plant orients itself to the light is phototropism. 

Monday, March 10, 2014

Simple Science - Making Butter


How we did it: We poured a pint of heavy cream into a quart canning jar, spun the lid tight, put on some good bouncing music and started to shake - and shake - and shake. When we noticed that the stuff inside was changing we popped the lid open. It looked a lot like whipped cream but without the sugar and vanilla it wasn't so tasty, so we put the lid back on and shook it some more. After about 20 minutes the cream did its thing - The fat and the water separated yielding butter and buttermilk! We drained off the buttermilk (future ingredient for Irish Soda Bread) , then mixed a dash of salt into the butter. As a finishing touch, while the butter was soft we put it in a cake decorating bag with a fancy tip and made butter dots.

Hard work but soooo tasty! 


Turn, Turn, Turn Top - Little Kid Art Project


Turn, Turn, Turn Tops

Age: 18 Months - 8 Years or older (younger ones need more supervision)

Time: 15 min (+ lots more time playing with them!)

Theme: Color Mixing, Games

Books: White Rabbit’s Color Book by Alan Baker, Color Dance by Ann Jonas

Materials:
8” Round Cake Board (the cardboard base that bakeries use under their cakes)
Crayons*
Glass Beads (also called gems – they ones that are flat on one side)
Adults get to us a Hot Glue Gun

Prep: Set out the materials and plug in the hot glue gun safely out of reach

Activity: Each child gets a cake board and crayons. Decorate it any way you like! The ADULT then glues a glass bead to the center of the bottom. As soon as the glue cools, spin your top!

Notes/Tips: Ask you child what happened when their design was spinning. Challenge bigger kids to create a design that creates an optical illusion (like a spiral) or to experiment with the placement of the bead.

*The waxy surface of some cake boards resists crayon. If you want more vibrant colors try a student grade oil pastel (cray pas) or Crayola Construction Paper Crayons.  


Tuesday, March 4, 2014

Strawberry Rhubarb Freezer Jam


We have gone through an astounding amount of jam this year. I blame it primarily on the fact that we make our own yogurt and I often put a dollop in the bottom of the jars before adding the cultured milk. With the stock of home made nearly gone, I was pleasantly surprised to find that I still had enough strawberries and rhubarb in the freezer to make a batch of this.


Strawberry Rhubarb Freezer Jam
Makes about 2 Pints (4 jam jars)

3c Strawberries (cleaned and hulled)
3c Rhubarb (cleaned and diced)
1/4c Water
1 Packet Instant Fruit Pectin (I used Ball 1.59oz)
1-1/2c Sugar*

Put Strawberries, Rhubarb and water in a large pan. Simmer stirring regularly for about 20 minutes until it cooks down to a thick sauce. Let cool about 10 min.

In a large bowl mix pectin and sugar. Add cooled fruit, stirring continuously until the sugar has dissolved.

Ladle into containers and allow to set about 30 minutes.

Can be kept in the refrigerator 3 weeks or frozen up to 1 year.

Makes an awesome sauce over vanilla ice cream or sweet flavoring for plain yogurt!

*This jam is NOT super sweet. To make a sweeter jam increase the strawberries (maintain the total fruit quantity of 6c) and/or increase the sugar to 2c.