Showing posts with label What is art good for. Show all posts

Wednesday, April 16, 2014

Collaborating on Art Projects with Little Kids


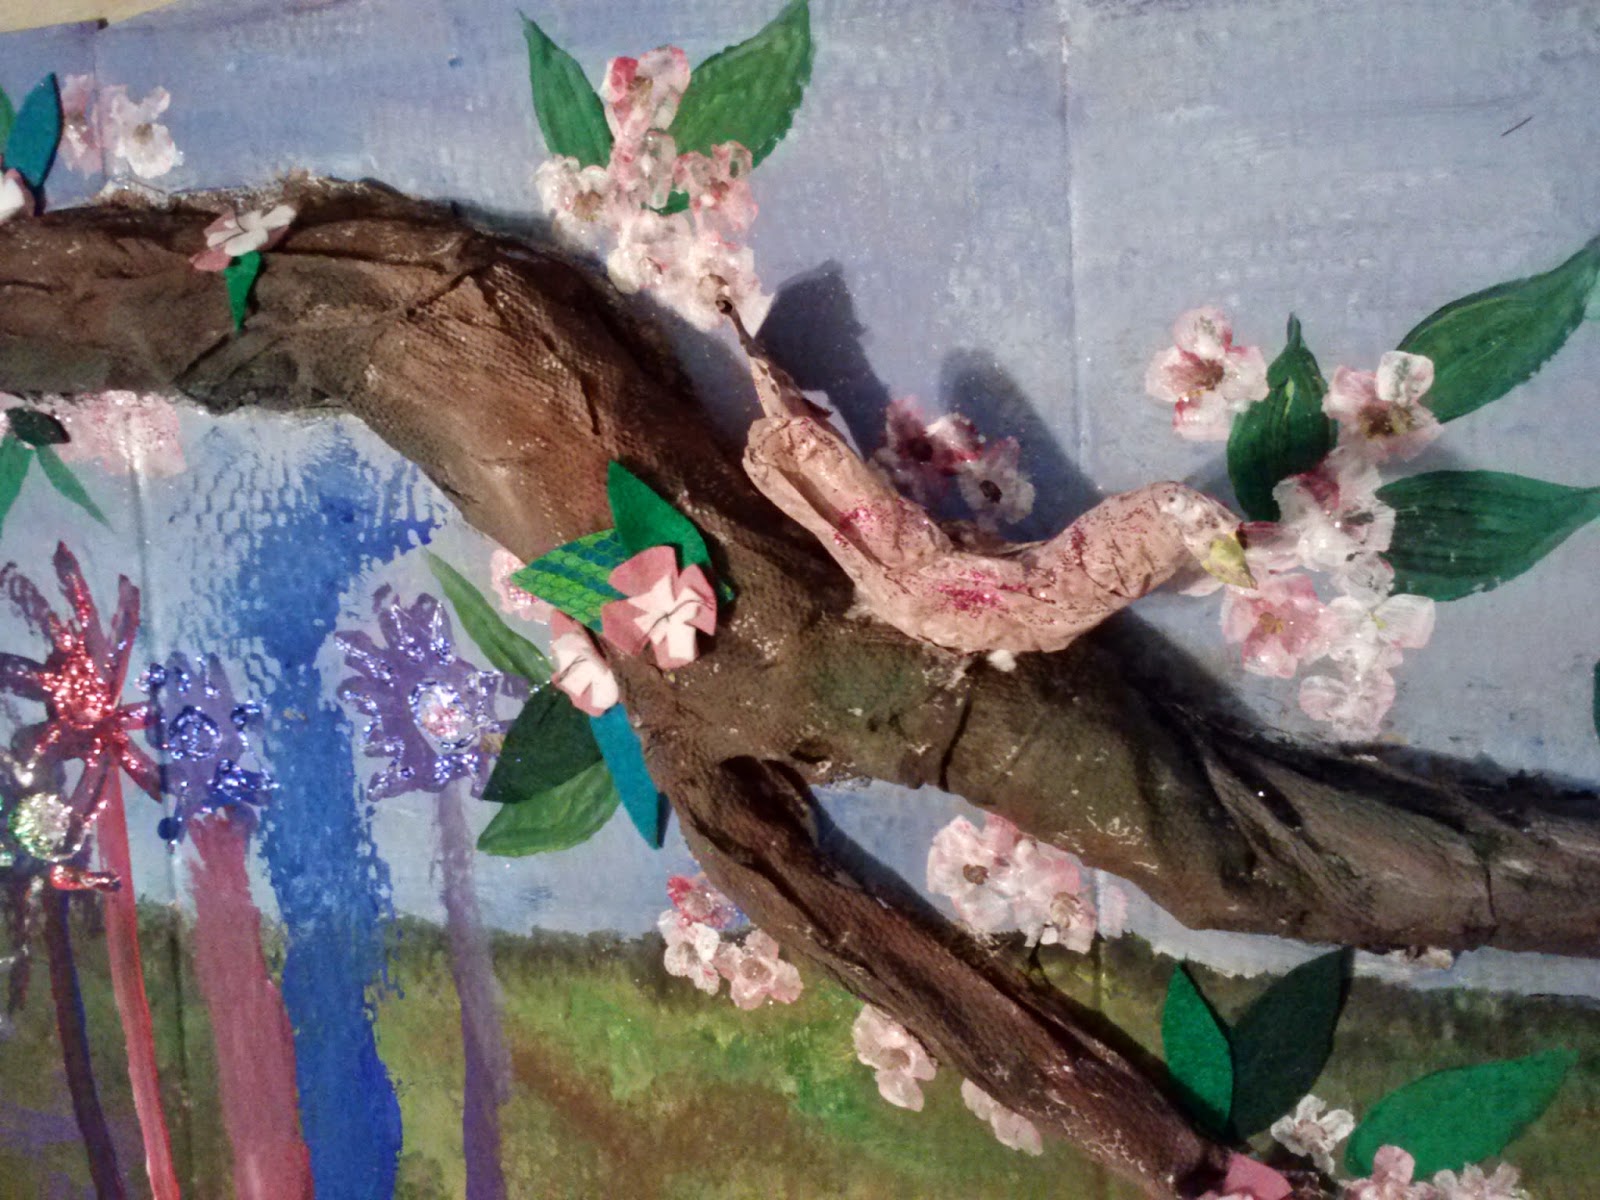
Detail of Our Ode to Spring

Collaborating on a project isn't easy. Collaborating on an art project with a 4yr old... You might think that it is impossible, but it is not. Here are 8 pointers to help you along.

1) Plan Ahead With Your Team - (Yes, I just referred to you and your child(ren) as a team. If you are going to make something together that is what you need to be.) Come up with a basic idea of what you are making, the materials you will need, the steps involved, where you will work, when you will do it, etc. This will help to get everyone invested in the project and give you a chance to organize in advance.

2) Identify Steps and Tasks - There are some things that you youngest team mates can't do but there are a whole lot of things they can. Identifying those things in advance makes redirection easy without letting it turn into a power struggle. For example: I need to be the one to use the X-Acto knife to cut here because it is very sharp, but we also need some triangles. Can you cut them with your scissors?
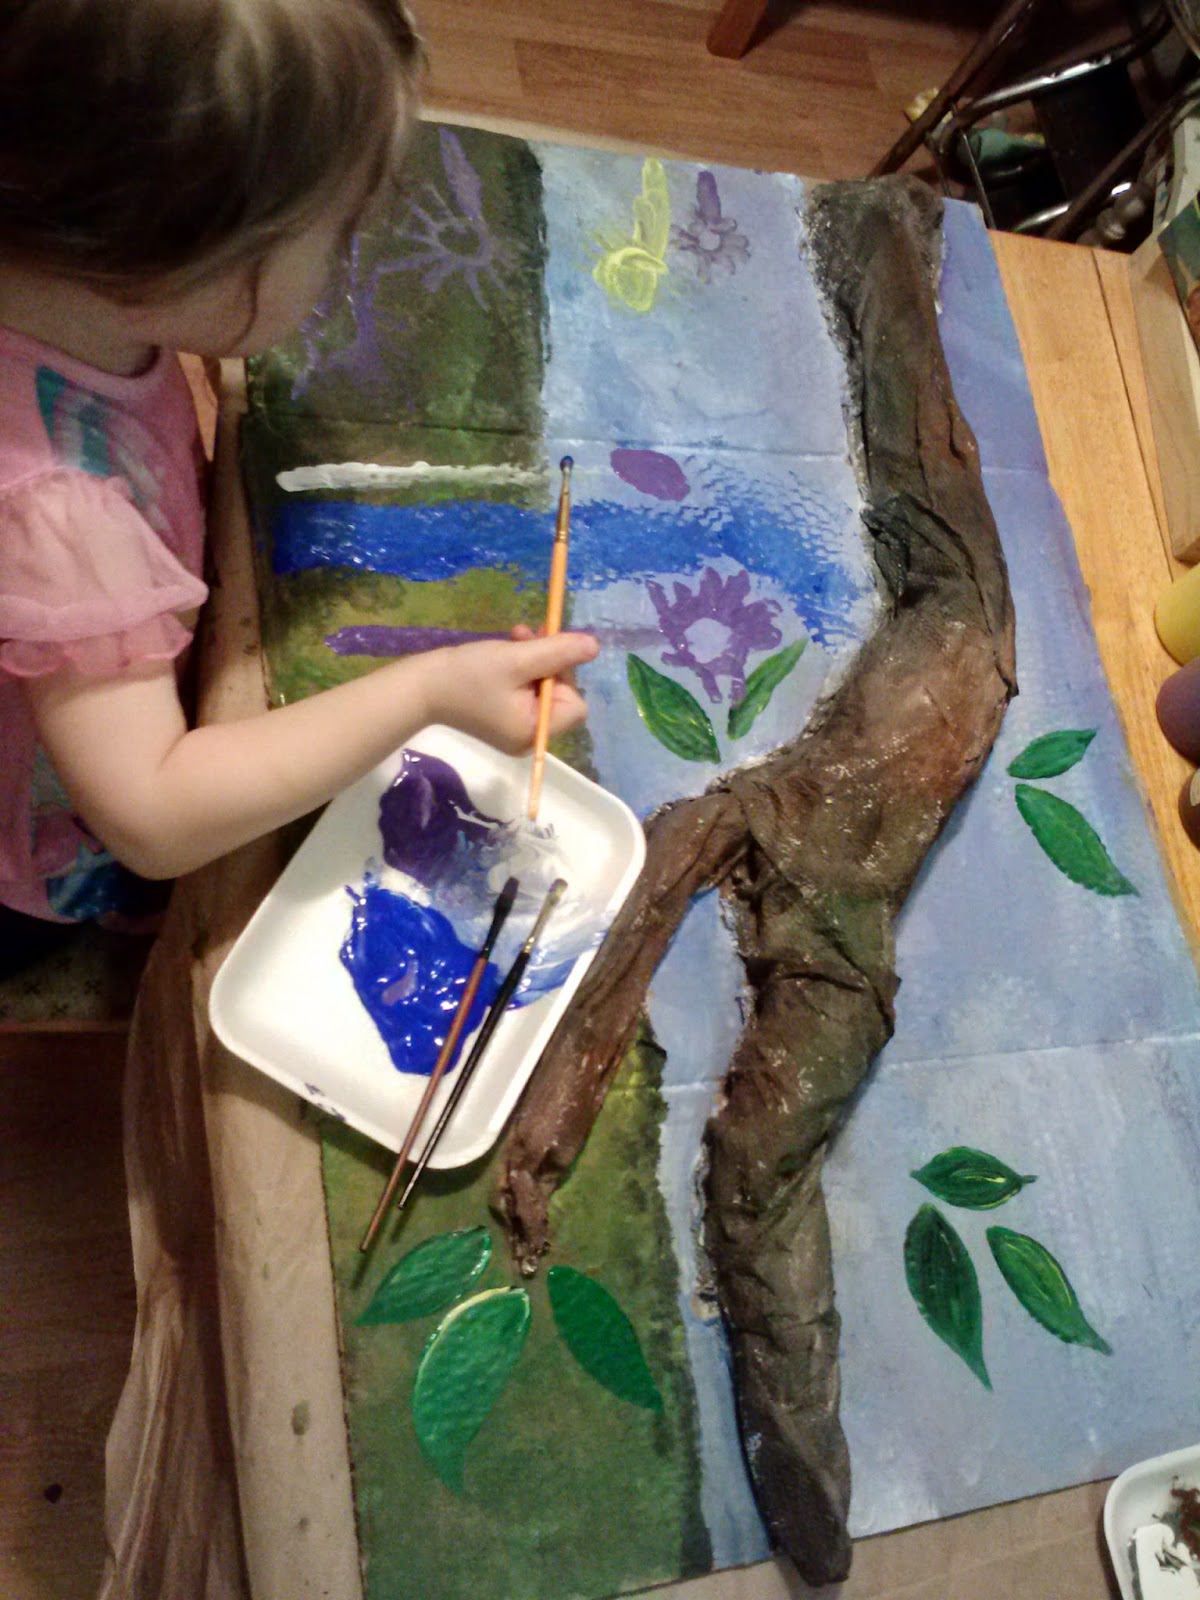
3) Give Them the Right Tools - If you want  small flowers don't hand them a big paint brush. If you are hoping for a garden of pink and purple, pull out those colors and leave the yellow and orange crayons in the box.

4) Let Go -  Yes, I know you have a vision of how this project is going to turn out, but so does every other member of your team. Ask open ended questions. Share your ideas. Communicate. Compromise. Create. This goes for kids and adults!

5) Plan Breaks - Not all attentions spans are created equally. Thankfully paint and glue take time to dry, creating convenient times for a break. Stretch. Have a snack. Change the music (or the baby). Take a nap. You don't need to finish in just one sitting. Remember - everything takes longer with kids, even art.


6) Check In - Every once in a while step back and look at your project. Share a complement. Ask a question (I noticed you used a different color on the belly of the bird. Why did you choose red?).

7) Resist the Impulse to 'Fix It'- Yes, it is crooked. No, it doesn't look like the one you saw on Pinterest. It was made by Your Team. It isn't 'wrong' and it doesn't need to be 'fixed'!

8) Be Proud -  Put your work on display. Encourage your child to talk about the art and the process with you and when showing others. What did they contributed and what did other team members add? What was challenging? What was new or fun? What do you want to make next?
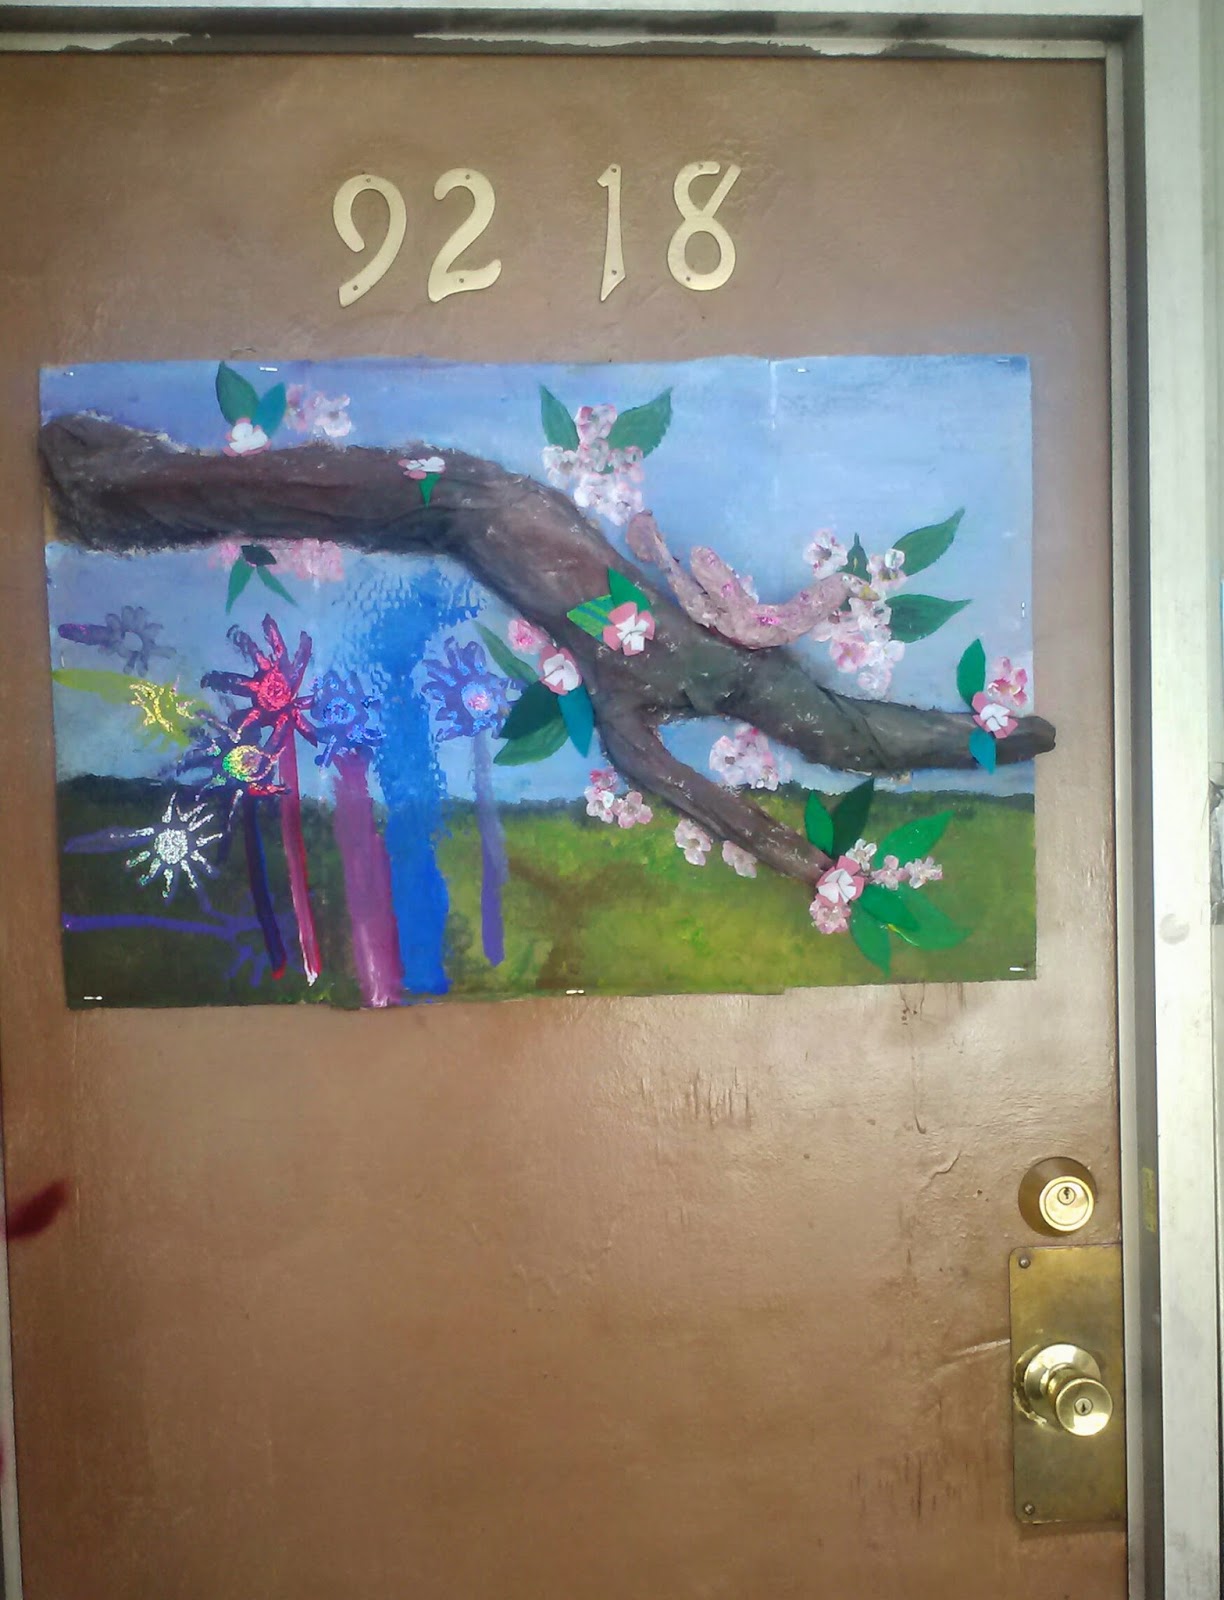
The Latest Neighborhood Beautification Project on Display


Monday, March 10, 2014

Turn, Turn, Turn Top - Little Kid Art Project


Turn, Turn, Turn Tops

Age: 18 Months - 8 Years or older (younger ones need more supervision)

Time: 15 min (+ lots more time playing with them!)

Theme: Color Mixing, Games

Books: White Rabbit’s Color Book by Alan Baker, Color Dance by Ann Jonas

Materials:
8” Round Cake Board (the cardboard base that bakeries use under their cakes)
Crayons*
Glass Beads (also called gems – they ones that are flat on one side)
Adults get to us a Hot Glue Gun

Prep: Set out the materials and plug in the hot glue gun safely out of reach

Activity: Each child gets a cake board and crayons. Decorate it any way you like! The ADULT then glues a glass bead to the center of the bottom. As soon as the glue cools, spin your top!

Notes/Tips: Ask you child what happened when their design was spinning. Challenge bigger kids to create a design that creates an optical illusion (like a spiral) or to experiment with the placement of the bead.

*The waxy surface of some cake boards resists crayon. If you want more vibrant colors try a student grade oil pastel (cray pas) or Crayola Construction Paper Crayons.  


Saturday, January 25, 2014

Letter Learning


The Figlet recently decided that her big sister's 
homework looked like fun. 
I'm not sure why, but who am I to argue? 
Time to find some homework for her to do!

Of course I can't just print things... It is in my Art Mama nature to 
MAKE THINGS, 
so in addition to seeking out worksheets, I made a letter game.


Using a 1" hole punch I made 26 disks out of card stock paper. I then wrote all the letters on them, capital on one side and lowercase on the other. I used the negatives (aka paper full of holes) to trace out 26 spaces on a piece of paper. We have a printer that makes copies so I made a few then penned in different objectives such as missing letters, make them all upper/lower case, etc. The result is a game that seems like it can grow with her for a while. 

Now I just need to figure out how to help her 
keep believing that homework is fun!


Wednesday, October 2, 2013

My Neighborhood Beautification Projects

 
I love our apartment, but the block that we live on is ugly. It is under an elevated train. It is poorly lit. Our front door has been graffiti tagged (along with most of our neighbors). There aren't any trees. But I love our apartment. I said that right? Tucked in behind the barber shop, with the mural of the dolphins, and the chickens in the back yard; this apartment feels right. It feels like home. I've tried to tell myself that it doesn't matter that outside the front door leaves much to be desired... But it does. So this summer I decided I'd change it at least a little bit; give our block some love and color and give the people who pass by a reason to smile.
No place is ugly where there are smiles.


Saturday, September 28, 2013

W is for...

 
Watercolor Ws
 
 
We have started doing letter days a few times a week. We aren't doing them in any particular order. Instead I ask Figlet what letter she wants to do and we talk about possible things that we could do with that letter the night before. The short planning time can be a challenge, but it keeps the lesson grounded in real life examples in our everyday. Here are a few pics from our W day.


WAFFLES!!!
 
 
A White Whale on the Wall

 
Watering the plants


And herself

 
Washing toys in the Watertable

We also took a walk, danced to the Wiggle Song (Yo Gabba Gabba's Hold Still), waved to our neighbor, and read Where's Walrus by Stephan Savage.
It was a Wet, Warm & Wonderful  W day!

Saturday, August 3, 2013

Letter Recognition Activity with Water Colors


One of the things we have been working on this summer is letter recognition - by sound, sight and name. 

An activity we tried that was a lot of fun was an Alphabet Seek and Find that I designed (sort of like the activity I wrote about here).

I prepared a 12 x 18 paper by dividing it into 2" squares in white crayon, then entered the letters of the alphabet, her name, numbers 1 - 12, etc. also in white crayon. Then she used watercolors to 'discover' what was hidden on the paper.

As she went along we came up with words that started with each letter, guessed what letter could be found next - sometimes skipping ahead a few spaces and guessing what letter and numbers would be there - And of course it was great practice for fine motor skills and color mixing too.


Saturday, March 9, 2013

I Love You Little Bit Purple


"I love you little bit purple!" she tells me with her head tucked under my chin and arms wrapped as far around as she can reach.
 
I do not know how or why she decided that colors would be the means by which she measures love. It has been that way almost since she learned to recognize them by name. Who am I to argue? It is not as though I have a better system to offer. No matter how wide I open my arms, how high I reach, how many kisses I dispense, I could never accurately describe or measure my love for her. Color seems as good of a way as any to quantify. 
 
"I love you little bit orange." I tell her in return. "Yeah" she mumbles into my chest "and a whole lot green."

Sunday, January 20, 2013

Love Ewe Sheep


I came across a picture of these Love Ewe Sheep we made last year (before I started blogging) and thought it might inspire some Valentines cards.

To make them I cut out blocky "n" shapes for legs and faces shaped like a peanuts with floppy ears out of black construction paper. I also cut out a bunch of different sized hearts from red construction paper. The big sheep body is a crumpled coffee filter, and the smaller one is a crumpled oval of tissue paper. The kids glued all the pieces together on a background color of their choice.

One detail I do recall from making them was that it didn't matter if the legs were glued down first or not because little ones rarely glue edge tight anyway.


Thursday, January 10, 2013

Things That You Can Paint With - Creative Discovery Toddler Style


Painting has been the Figlet's art activity of choice lately.
To keep things interesting, she has been testing out the
marks she can make with all kinds of things....
 
Feathers
 
Sponge, Onion Bag, Marbles & Beads
 
Fingers & Fake Flowers
 
Spool, TP Tube, Brushes
 
Foam Sticker Stamps
 

Brushes & Burlap
 
There is such joy in discovery!
 
"When my daughter was about seven years old, she asked me one day what I did at work. I told her I worked at the college - that my job was to teach people how to draw. She stared at me, incredulous, and said, "You mean they forget?" Howard Ikemoto


Sunday, January 6, 2013

Thank You Streamers - Kid Craft


Thank You Streamers
A fun mail-able alternative to traditional thank you cards

Age: 18 Months and up (younger ones need more supervision)

Time: 10 - 20 min (+ Prep)

Theme: Saying Thank You, Sending Mail

Materials:
Copy Paper
Crepe Paper Streamers
Glue Stick(s)
String
Crayons or Markers
Reinforcement Labels (little donut shaped stickers used to reinforce pages in ring binders)
Adults and big kids get to use Scissors and a Hole Punch

Prep: For children who are not yet handy with scissors, precut 5 – 10 shapes (hearts, word bubbles, diamonds, whatever you like) out of copy paper. I found roughly 2” to be a good size. Cut a 24” strip of streamer.

Activity: Each child gets pre-cut shapes, or paper to make their own and markers or crayons to decorate them. Encourage them to write things that they are thankful for, such as a gift they received or an activity they did with the person they are making it for. Put away the Crayons and marker and get out the glue stick. Glue the shapes down the length of the streamer. Place a reinforcement label at the top then punch the hole through it. Add a string for hanging.

Notes/Tips: If you don’t have the labels (or even if you do), you can fold and glue the top of the streamer into a double layer to strengthen it.
Have fun embellishing! I have done this with two different age groups since the winter holiday break. The little ones added stickers and the older ones added snowflakes.
Banners fold flattest (best for mailing) back and forth accordion style
If doing this project with toddlers or pre-school kids I suggest reading Thank You Bear by Greg Foley too!
 

Saturday, December 8, 2012

Decorating Gift Bags with DIY Foam Stamps


Decorating Gift Bags with DIY Foam Stamps
 
I love this project because it is great for a wide range of ages. The samples shown were done by the elementary school kids I work with.
 
We used:
Paper bags (mine had handles but not required)
Foam sheets (any color - scraps are fine)
Chipboard (aka cereal box cardboard)
Paint
Paintbrushes
Glue sticks
Scissors
 
How we made the stamps:
Cut out foam shapes
Most everyone used a lot of little pieces to make their image
Glued them to the chipboard to make a design
Some kids tried to make words. This is harder than it looks because the words and the letters have to be backwards!
 
How we printed the bags:
We used paint brushes to put paint onto the foam so we could use different colors at the same time
Pressed them onto our bags, then lifted carefully
Did it again and again
Let them dry
Printed the other side
 
If we do it again we will:
Have lots of big paper to print matching wrapping paper
Have feathers and glitter and buttons and other fun stuff to add after they are dry
Plan different designs together & share our stamps


Sunday, December 2, 2012

Morning Glory Seeds

 
To spite poor conditions and neglect, from mid summer into fall our back fence is graced with pink, blue and purple morning glories. It is December now. The last blossoms are gone. Hanging from the vines are paper thin orbs backed by crisp stars; gracefully wrapped packages of potential waiting for spring. Sleeping beauties...

Sunday, November 25, 2012

December Tis the Season to Send, Send, Send!

This year I've had a personal goal of sending out at least two pieces of snail mail a week. Letter writing is a art that is rapidly falling to the wayside and this is my own humble effort to keep the tradition alive. Most of what I send hasn't been letters at all. I've sent mostly cards and art made by the kids or myself. Still I have fallen behind on my goal. Thankfully the holiday offer fabulous momentum to send, send, send!
 
Here is a sneak peak at what will be going out in December:
 
Stationery card
View the entire collection of cards.

Wednesday, August 29, 2012

What is Your Home Town's Claim to Fame?

From Bike The Byways

Everybody’s home town has a claim to fame. My home town, Gouverneur, NY is where the founder of the Life Savers Candy Company, E.J. Noble, was born. There is a giant roll of Pep-O-Mint Life Savers in the middle of town. This statue (along with the local museum’s two headed calf), is what has earned Gouverneur mention on the Roadside America web site.
This is not a paid promotion. I don't even get a free bumper sticker or anything. I have just found some cool stuff on the site. Roadside America is a guide to finding offbeat attractions, which in my mind are the best kind! You can find any number of small town museums, works made in homage to their originals (like Foamhenge in VA), and stuff that you have only seen in the movies (hint for Kevin Smith fans, head for NJ).  

From Earth Art By Brad
This brings me to the real reason for this post. When we were traveling a few weeks ago we stopped in a little town called Roscoe, NY. Along with claiming to be the fly fishing capital of the world, there were those photo props that you can put your head in all over the place.
 
Figlet & Her Daddy

 After taking a bunch of pictures I thought ‘This place ought to be listed on the Roadside America site’. So I sent them a tip, and now it is!
 
The End

Saturday, August 18, 2012

A Little Swarm of Memories


Whenever we travel we like to find odd landmarks. Today we happened upon these in the parking lot of an out of business antique shop along Route 17/I86 near Liberty, NY.

Baby Bug & Big Bug Mama


Big Bug Daddy

Our Little Baby Bug Out On Her Own